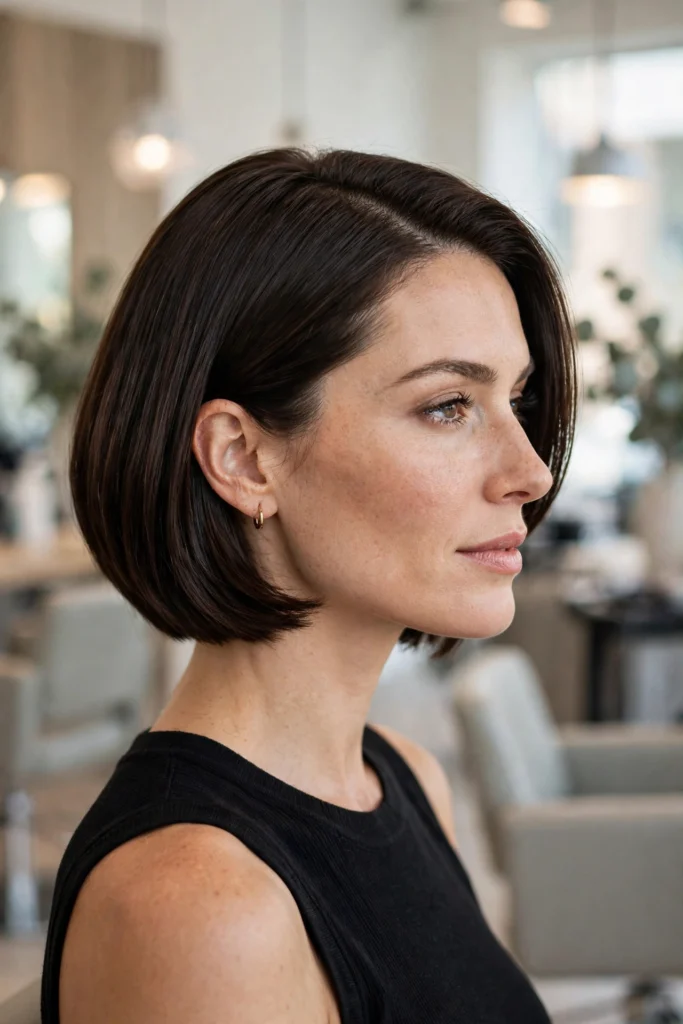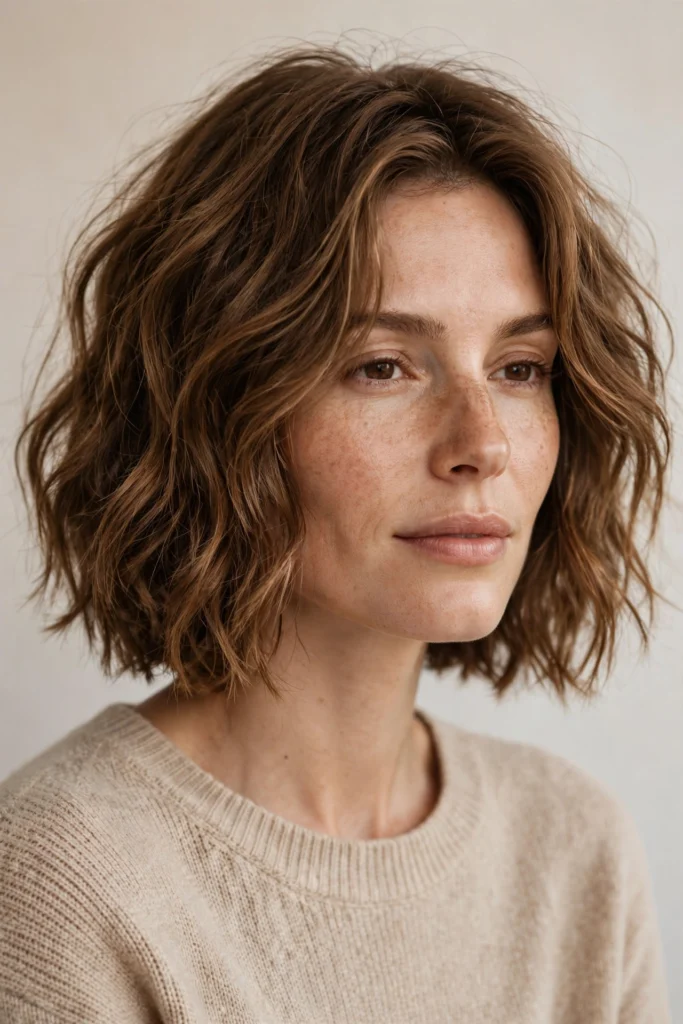


If you are wondering how to style a french bob without spending half your morning in front of the mirror, here is the good news: this cut was made for low effort. The whole Parisian look is built on the idea that slightly undone beats perfectly polished. For visual inspiration, browse this collection of French bob ideas on Byrdie.
That said, “effortless” does not mean “do nothing and hope.” There is a real difference between a French bob that looks artfully tousled and one that looks like you just rolled out of bed. The difference is technique, and it takes about five minutes to learn. If you are still choosing your cut, our french bob haircut guide covers the basics.
In this guide you will find 20 practical techniques: quick daily routines, the right tools, exact product amounts, styling for your specific hair type, fringe tricks, second-day refreshes, humidity fixes, and the mistakes that quietly ruin the look. Let’s get into it. New to the style? Start with what is a french bob.
How to Style a French Bob: 20 Techniques That Actually Work (2026)
1. The 5-Minute Wash-and-Go
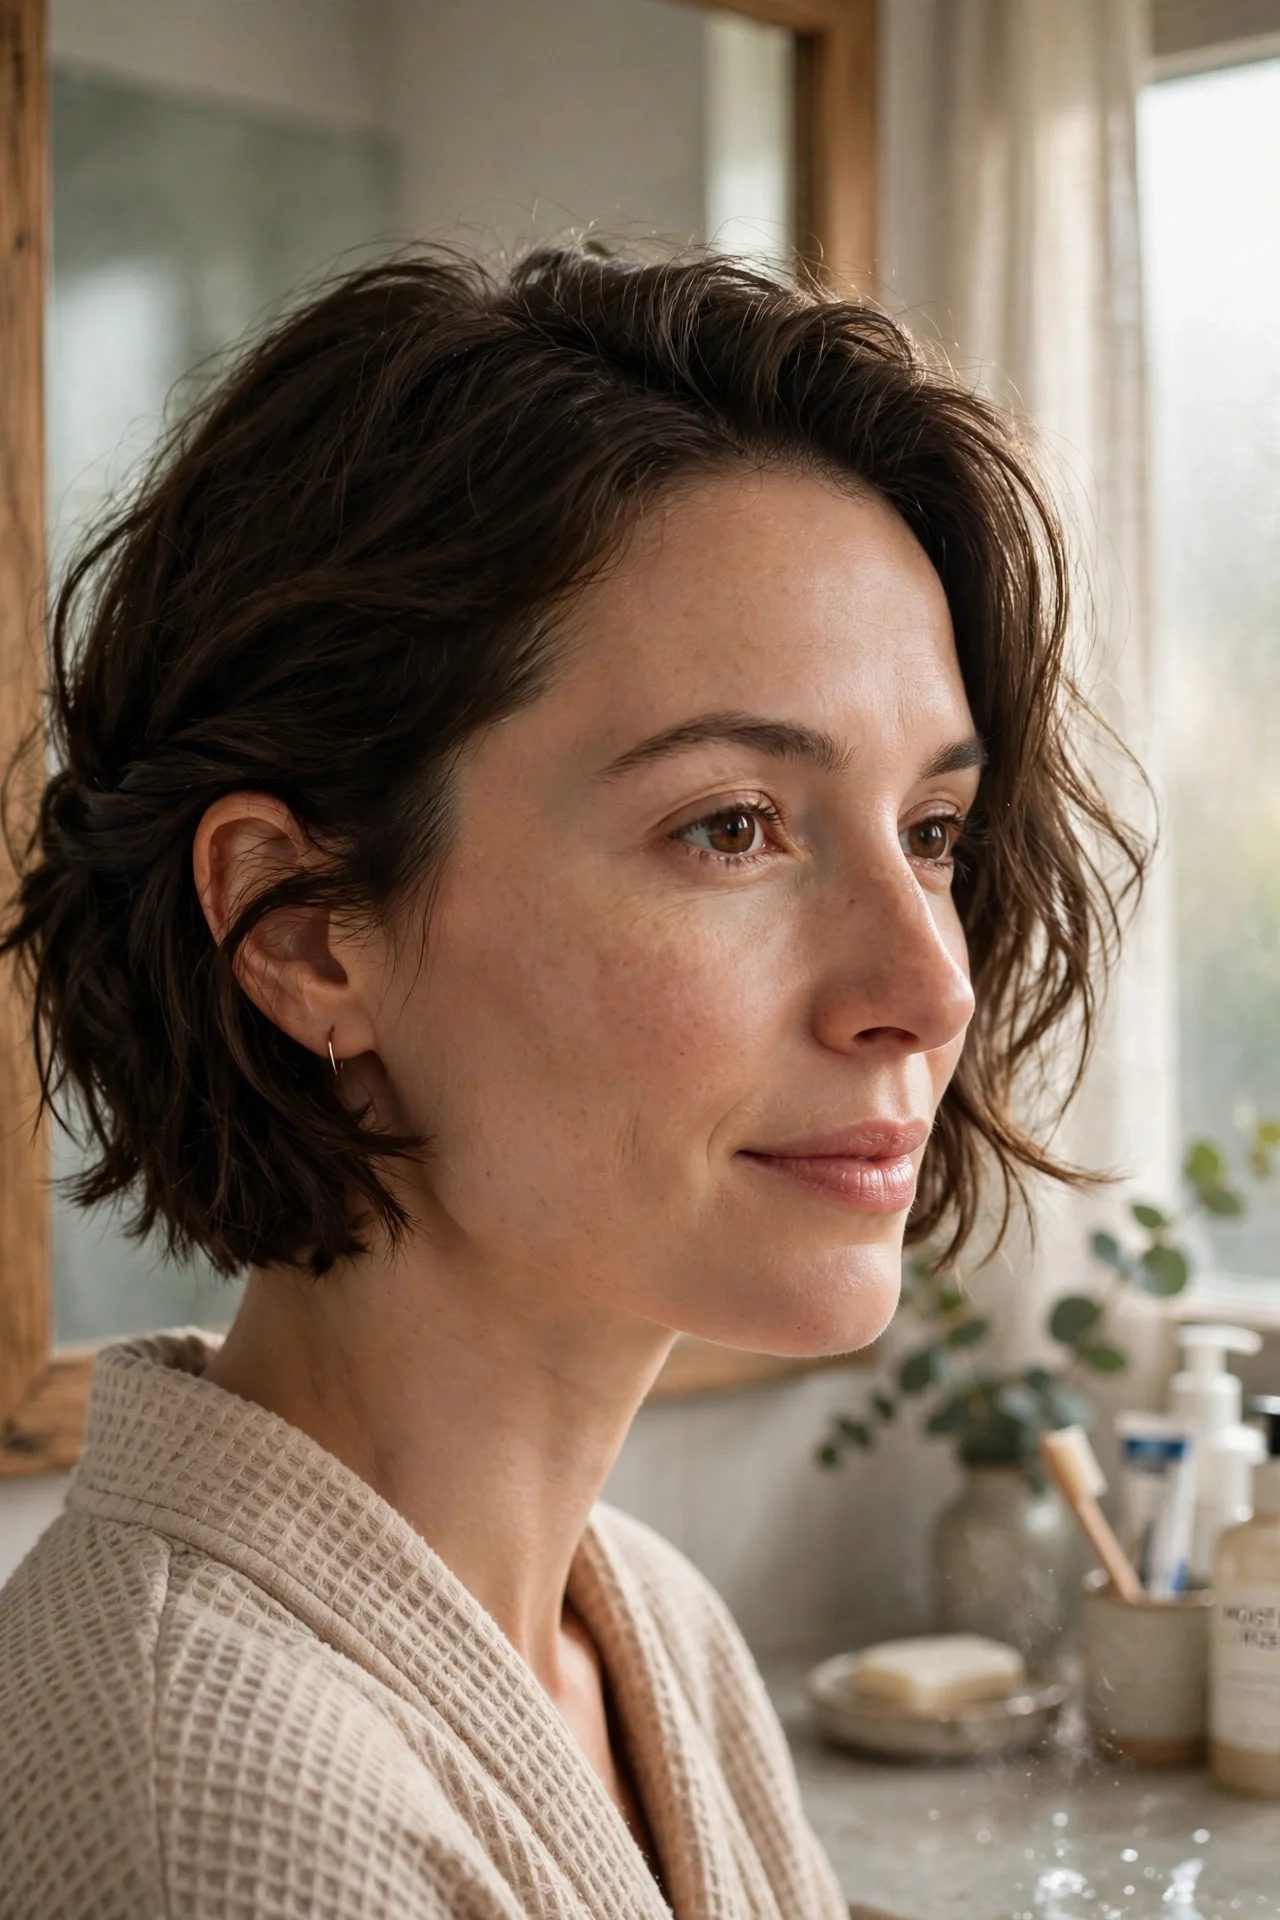
This is the routine most French bob owners end up using on busy mornings, and honestly it might be all you ever need. Start with damp, towel-dried hair and work a pea-sized amount of lightweight styling cream through the mid-lengths and ends.
Scrunch the hair upward with your hands to encourage your natural texture, then tuck one side behind your ear. That little asymmetry is a classic Parisian move.
The key is restraint. Skip the hairspray and let the cut do the talking. If your hair dries flatter than you would like, a quick blast of texture spray at the roots will fix it in seconds.
2. Round-Brush Blowout Basics
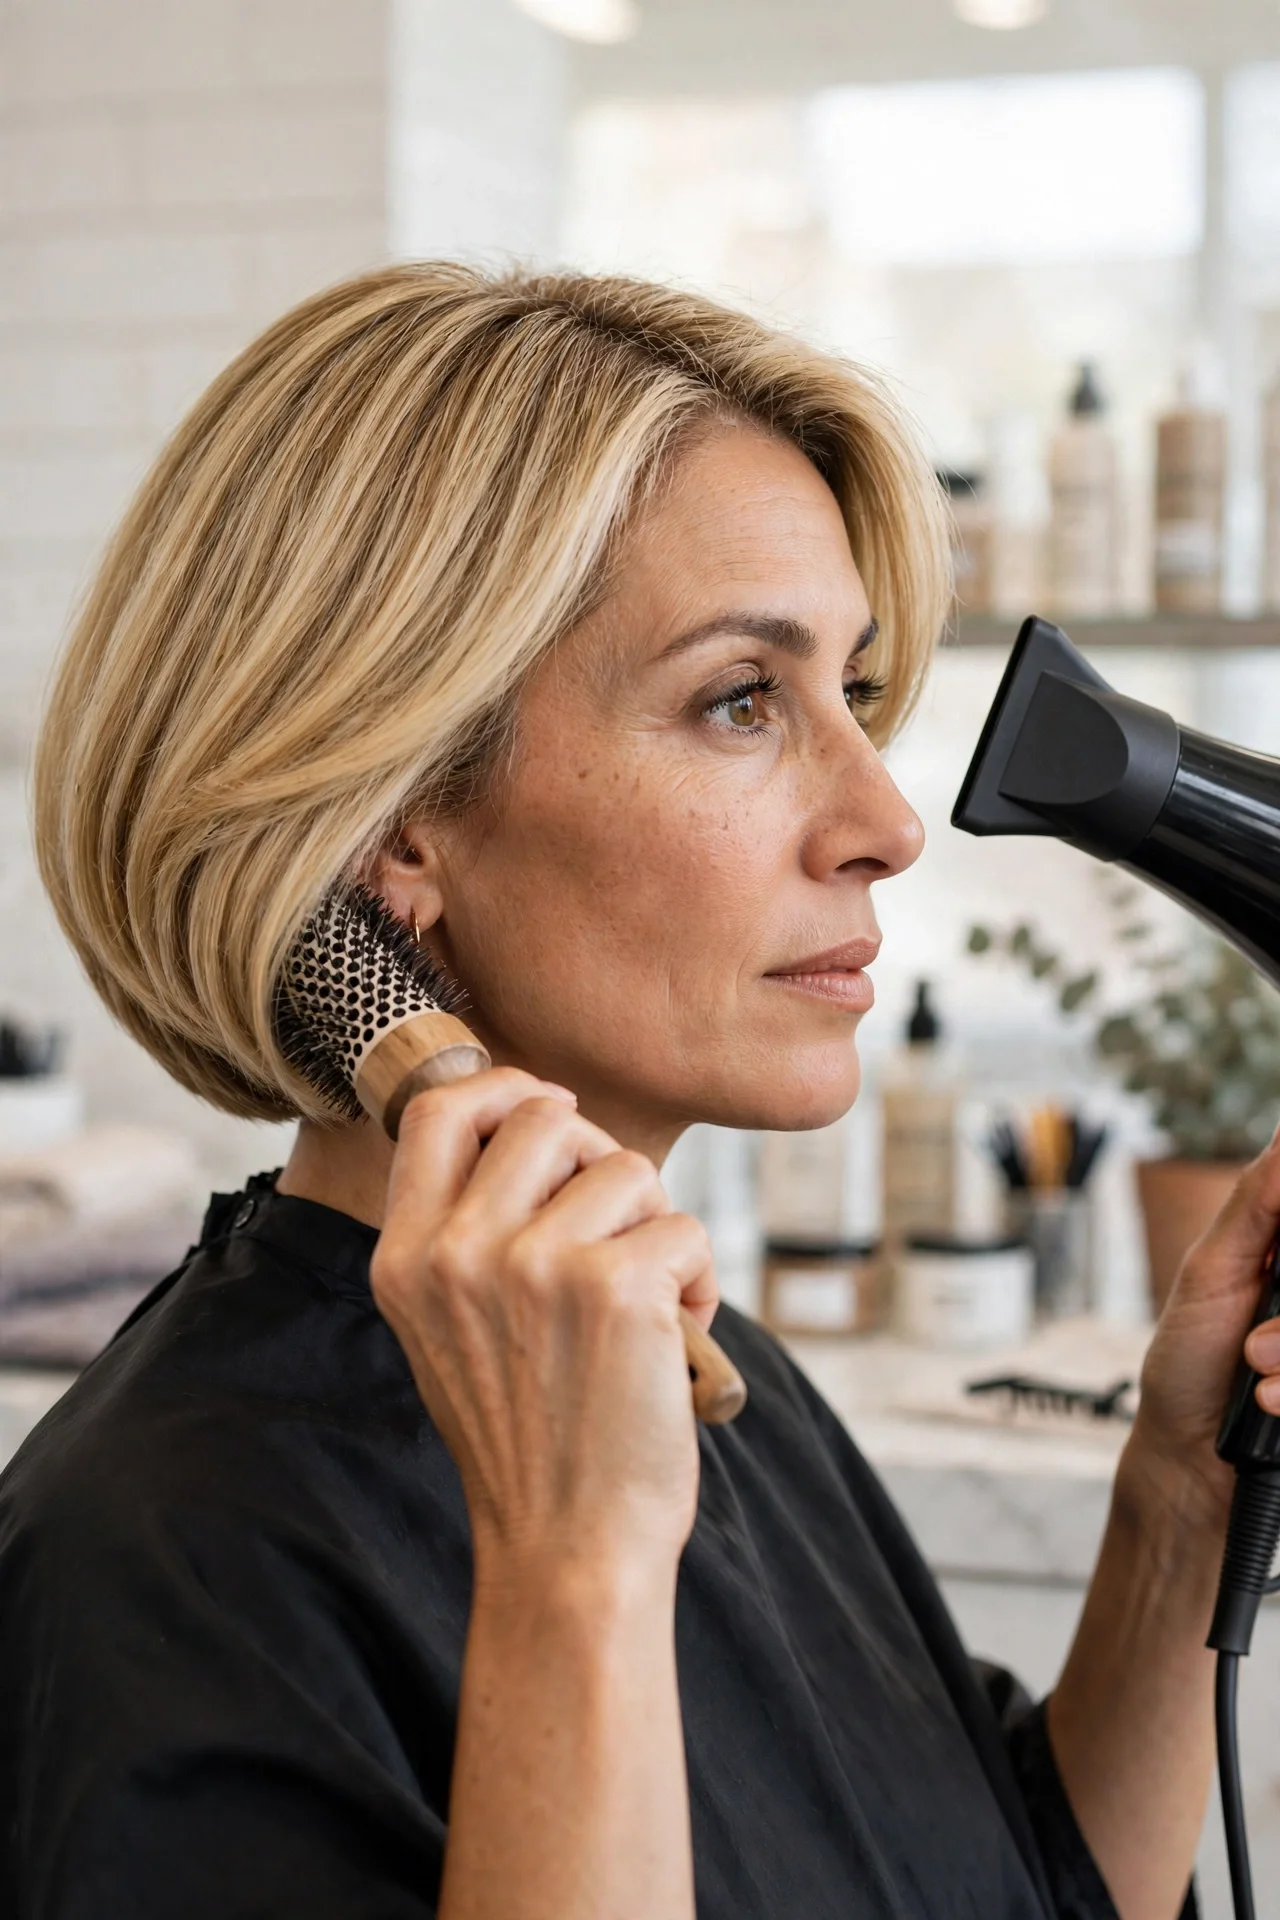
When you want a bit more polish, the round-brush blowout is your best friend. Start by rough-drying with just your fingers until the hair is about 80 percent dry. This gets the heavy moisture out without disturbing your natural pattern.
Then take a small round brush, about one inch wide, and work through the hair section by section, directing the airflow down the hair shaft. Curl the ends slightly under as you finish each section for the rounded, jaw-grazing shape.
Keep it quick. Three to four minutes of focused brushwork is plenty. Over-drying flattens the airy texture that makes a French bob look French. Finish with a cool shot from the dryer to set everything in place.
3. Air-Drying for Natural Texture
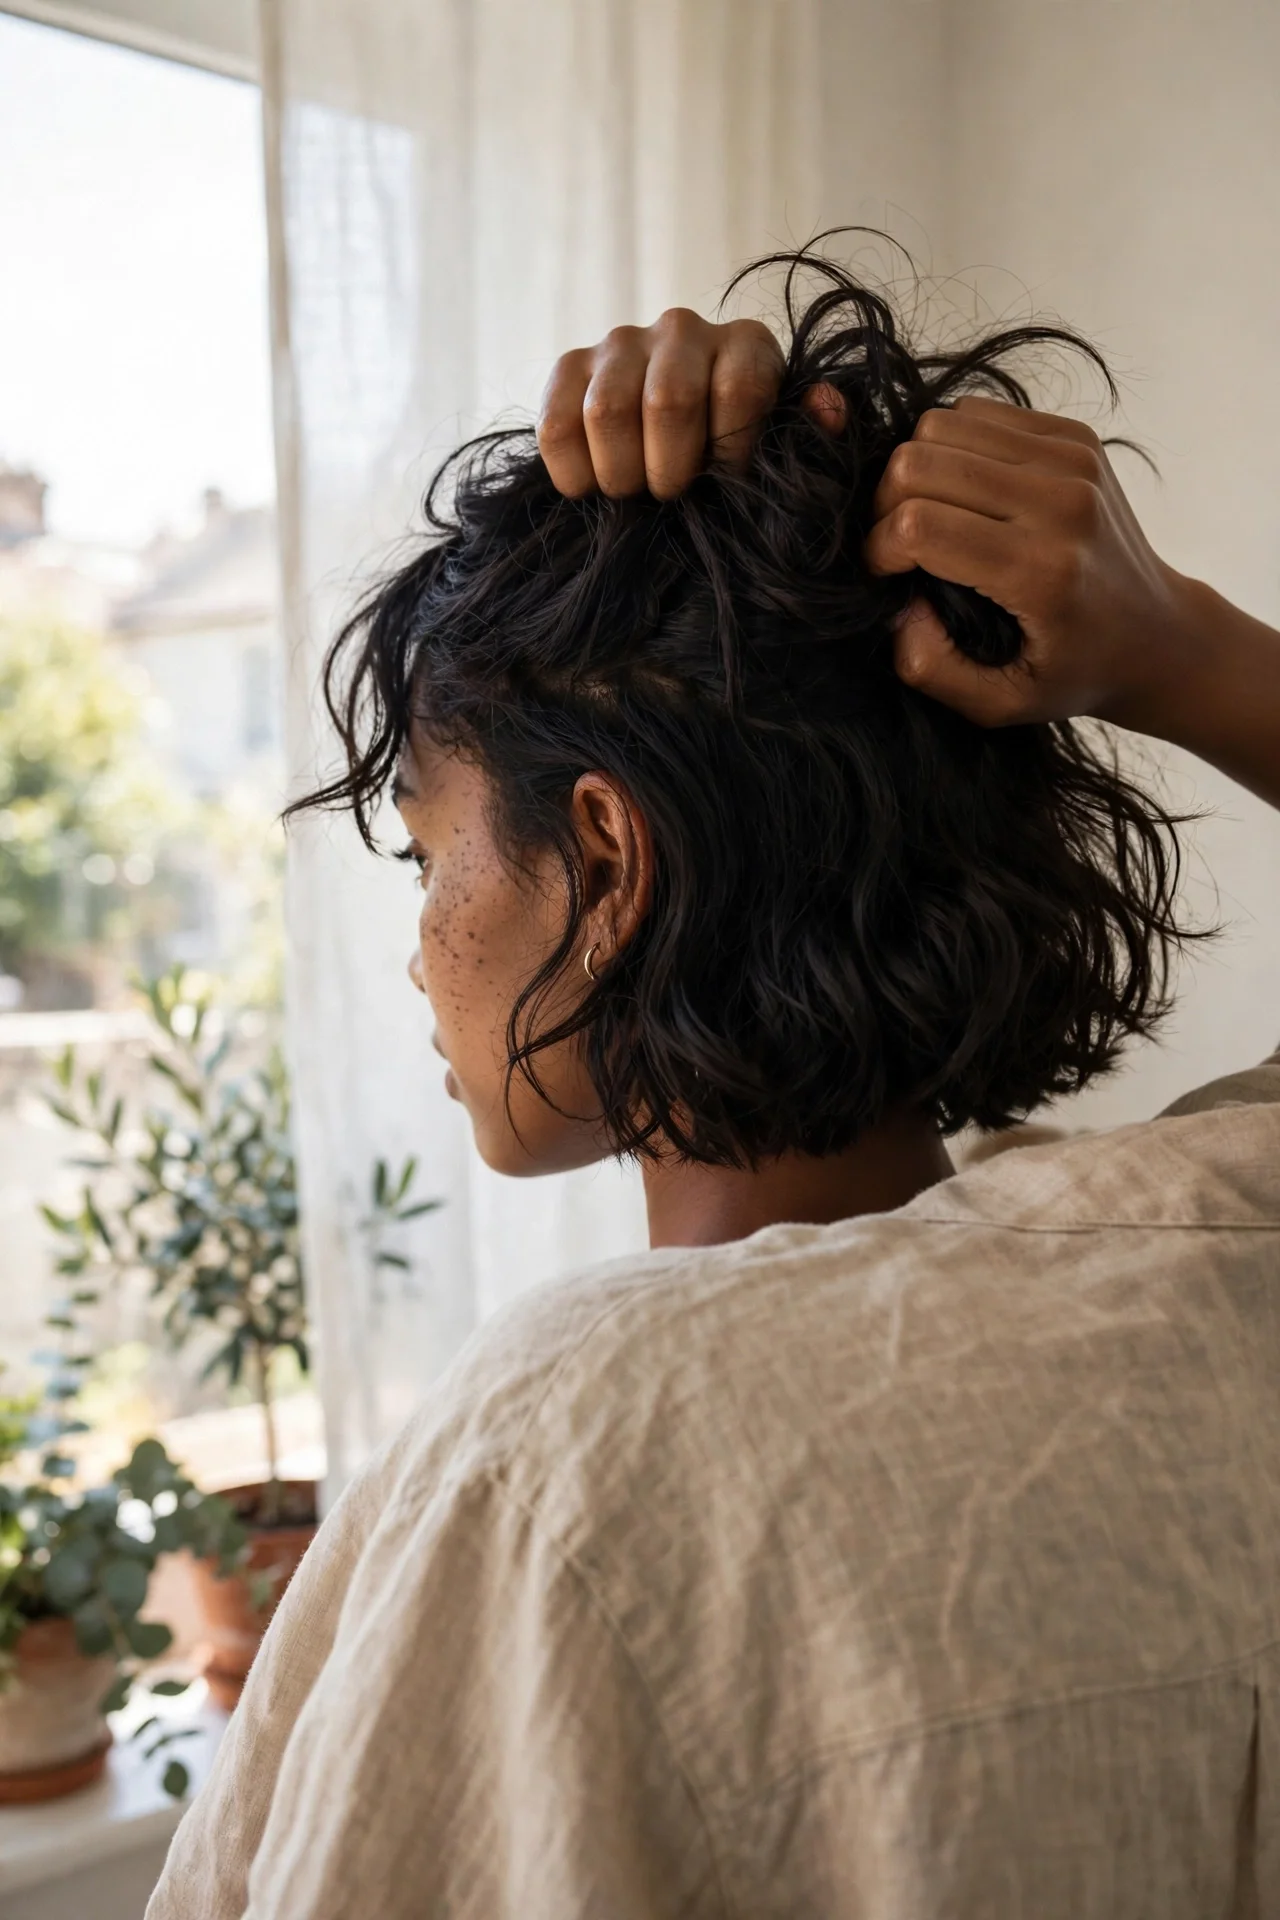
Air-drying is the purest way to style a French bob, and it suits wavy hair especially well. On freshly washed hair, apply a quarter-sized amount of mousse to the roots and a little curl-enhancing cream through the lengths while the hair is still very damp. Our textured french bob guide goes deeper on air-dried texture.
Scrunch the hair from the ends upward, then stop touching it. Every time you run your fingers through drying hair, you break up the wave pattern and invite frizz. Let it be.
Once fully dry, flip your head upside down and shake the roots gently with your fingertips. This adds volume without disturbing the wave clumps. A light mist of texture spray on the ends finishes the look.
4. The Overnight Heatless Method
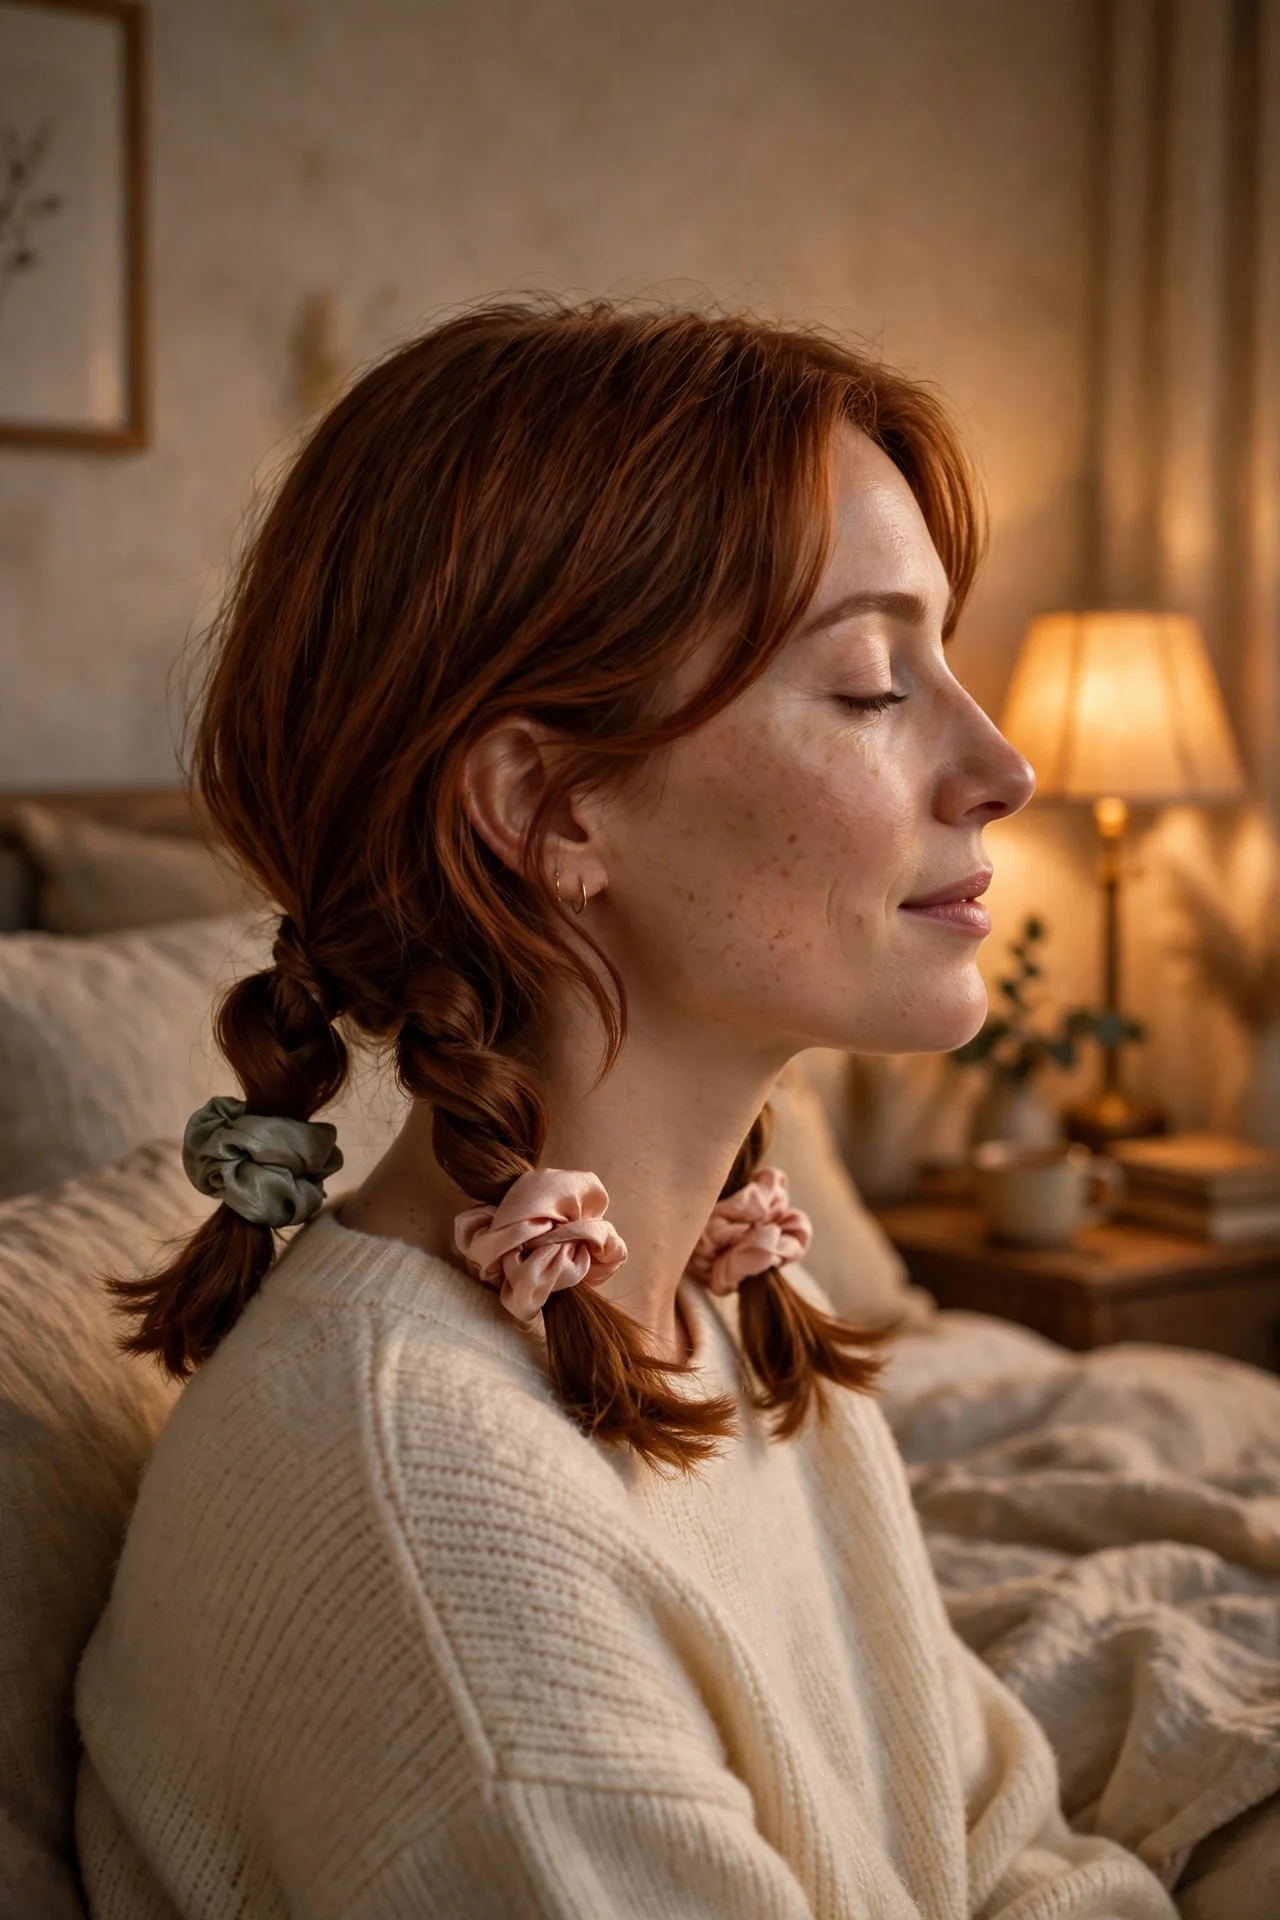
Want to wake up with a styled bob and zero morning effort? Twist damp hair into two loose low buns before bed and secure them with silk scrunchies. Regular elastics leave dents and rough up the cuticle overnight.
Make sure your hair is about 70 percent dry before you twist it, not dripping wet. Wrapping soaking hair leaves it damp in the morning and the waves fall flat within an hour. A little texturizing spray before twisting gives the waves more staying power.
In the morning, undo the twists and shake your hair out with your fingers. Do not brush it. You will get soft, natural bends that work beautifully on straight hair.
5. The One-Pass Flat Iron Bend
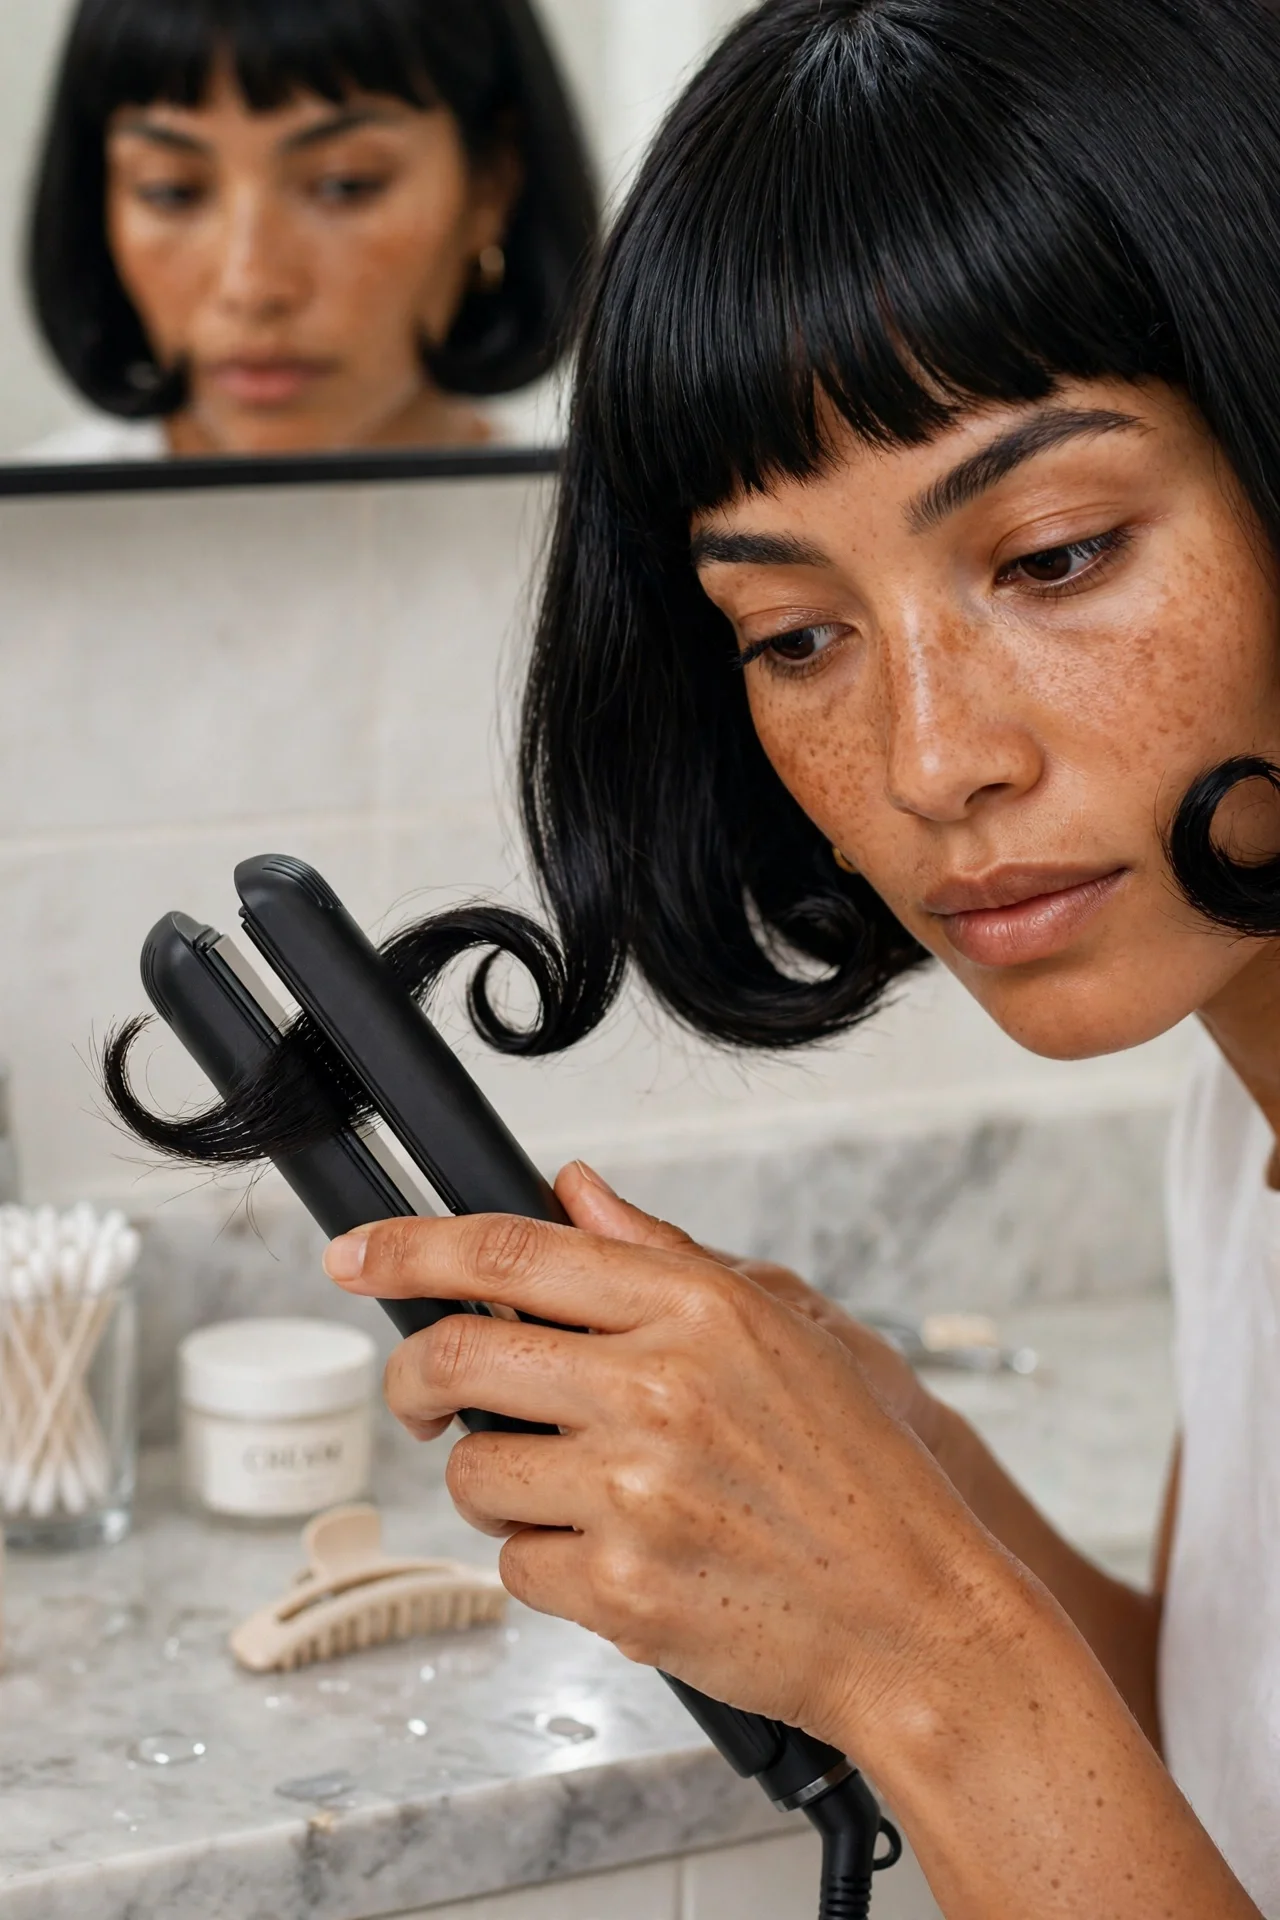
The flat iron gets a bad reputation with French bobs, but used correctly it is a precision tool. Set it to a low temperature, around 300 to 350 degrees Fahrenheit, and always apply heat protectant first.
The technique: clamp a section near the ends, twist your wrist slightly inward, and glide down in one smooth pass. One pass per section is the rule. You are only touching the last few inches of each section to create a soft bend, not a pin-straight finish.
This works best as a touch-up rather than a full-head routine. If most of your bob looks fine but a few pieces are sticking out oddly, spot-fix just those pieces. You can reshape the cut in under two minutes this way.
6. The Diffuser Routine for Curly French Bobs
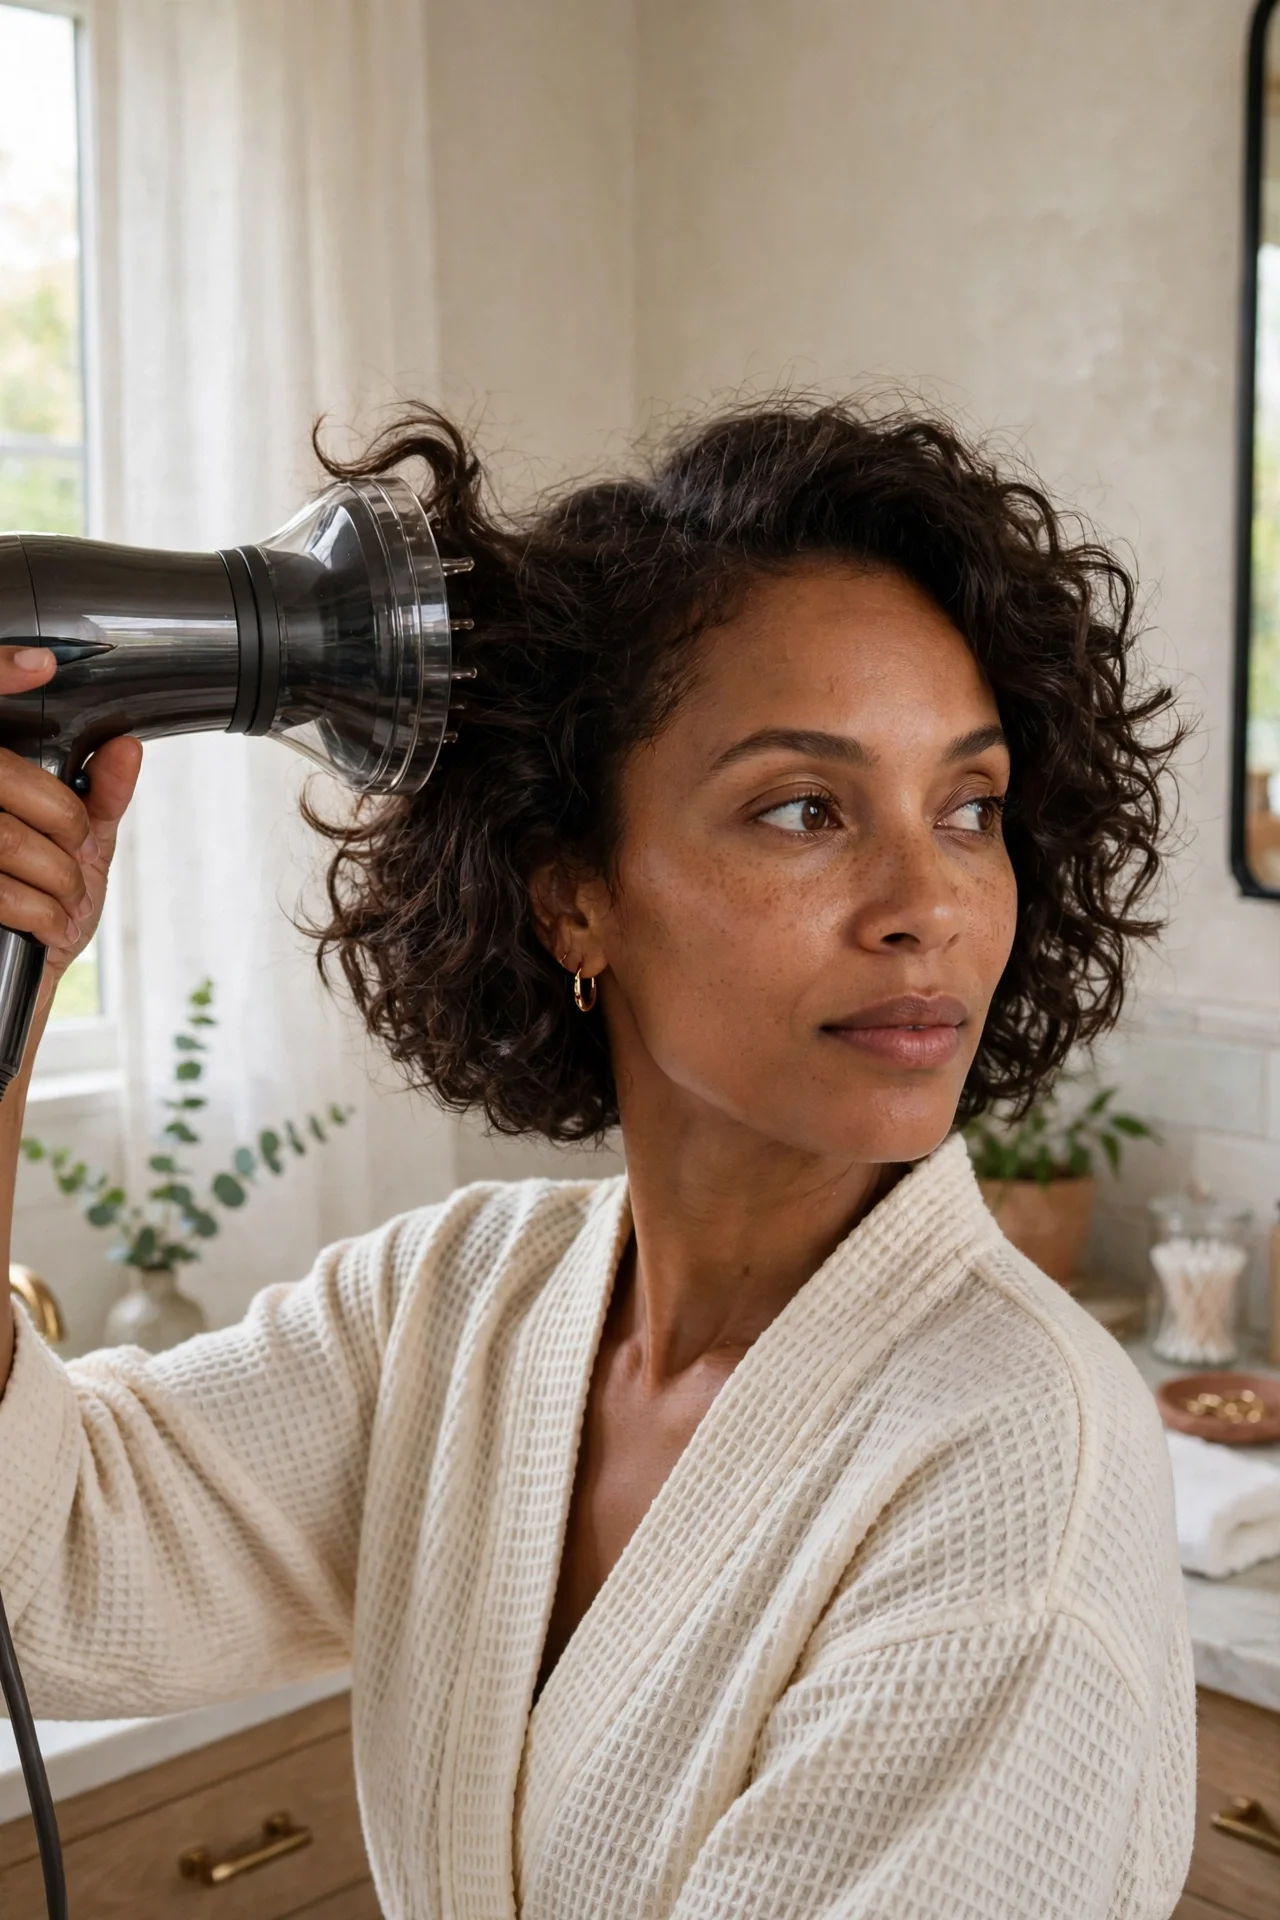
Curly hair and French bobs are a fantastic match, but the diffuser is non-negotiable for definition without frizz. On soaking wet hair, apply curl cream first, then a golf-ball-sized amount of lightweight gel to lock in the curl pattern. Plop your hair in a microfiber towel for about 10 minutes, then diffuse on low heat and low speed, starting at the roots.
Do not touch the curls until they are 100 percent dry, then scrunch out the gel cast with your hands for bouncy, defined curls that sit perfectly at the jawline.
7. Style the Fringe as Its Own Zone
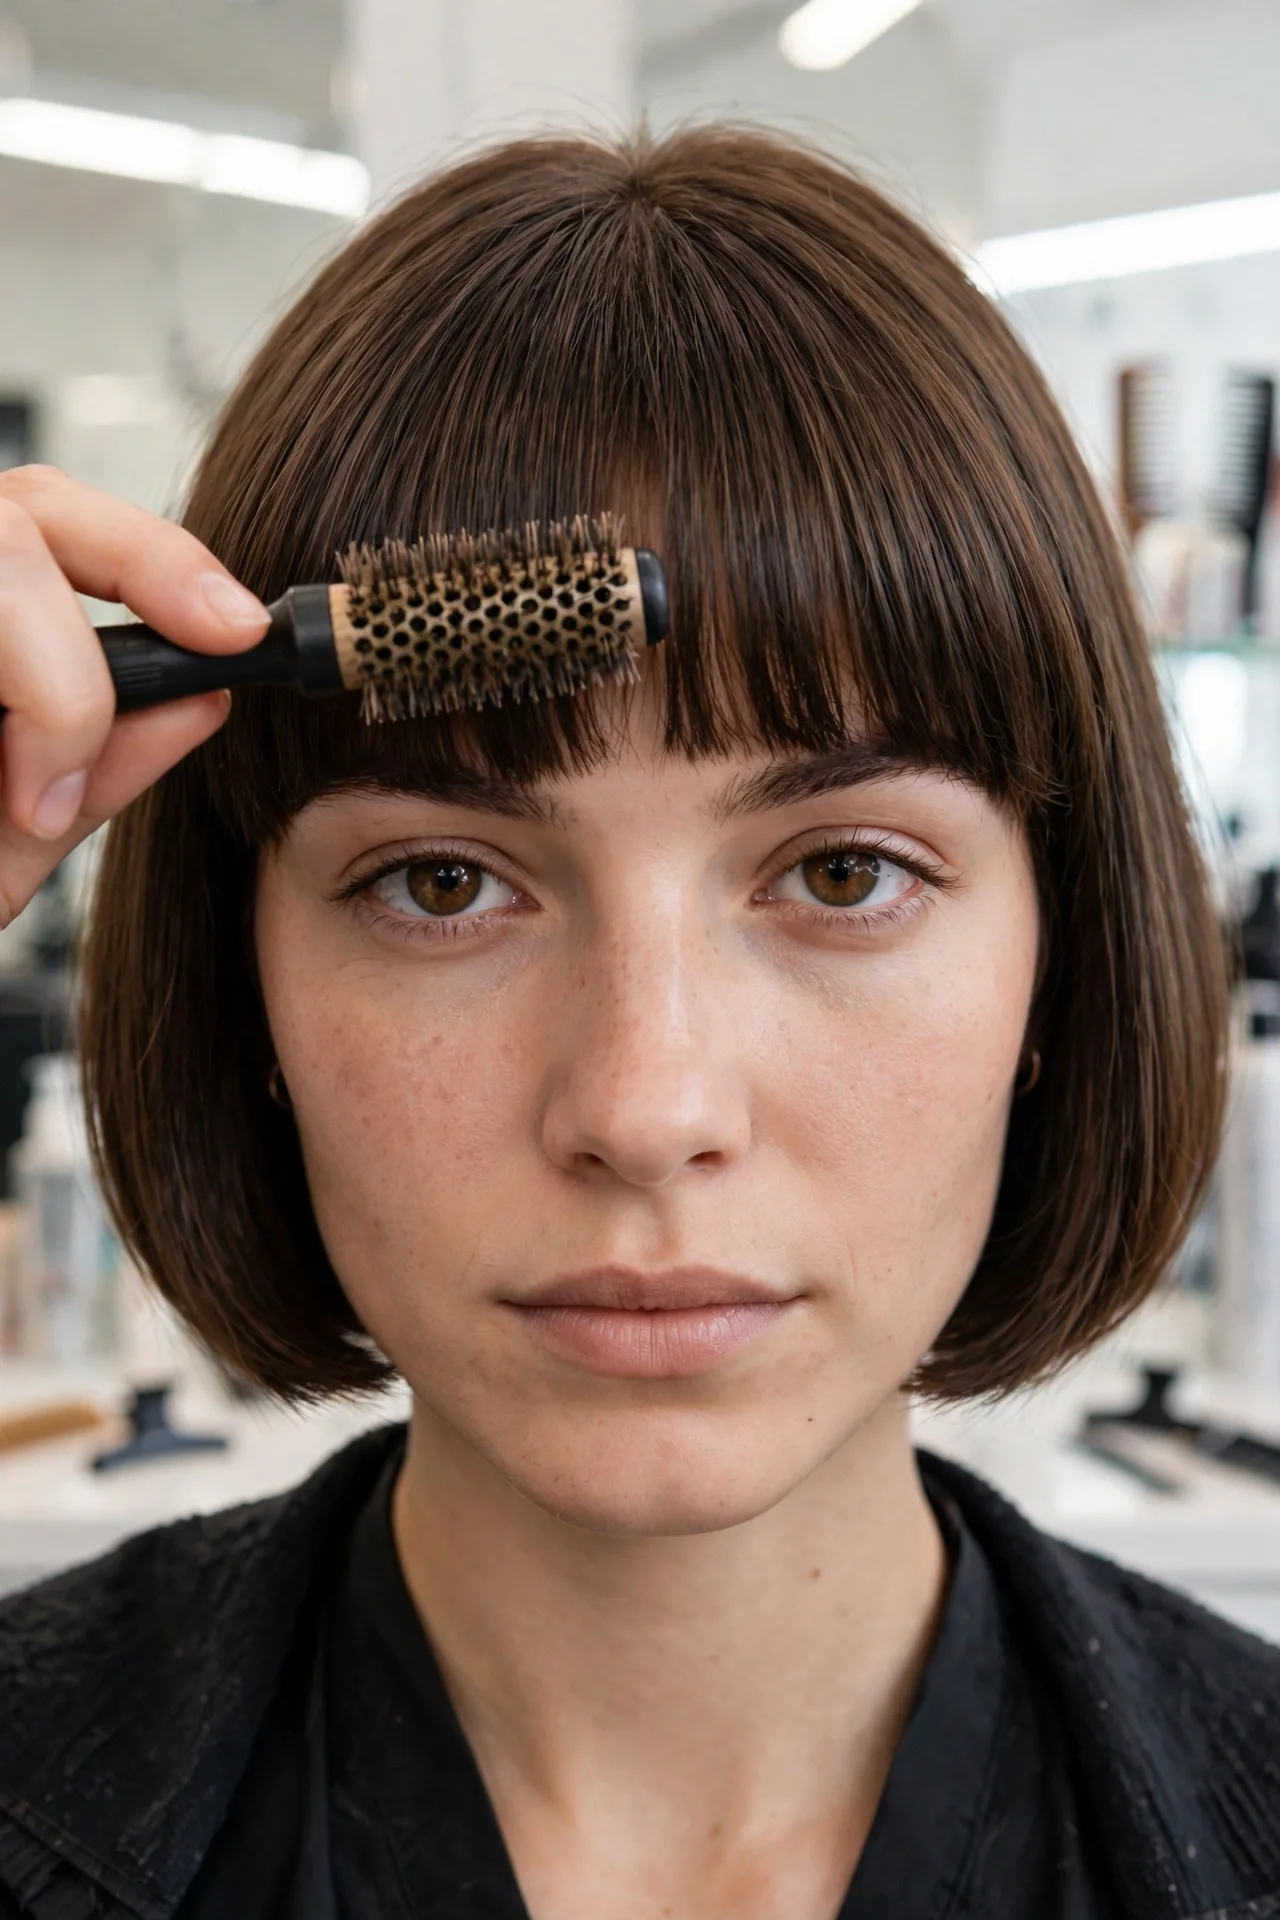
Here is the styling secret most people miss: treat your bangs as a separate project from the rest of your hair. Style them first, while the hair is still damp, because fringe dries faster and sets into place early.
Use a small round brush and dry the fringe by brushing it downward, then sweep it slightly to one side for a soft curtain effect. Keep the brush moving in small strokes so it dries smooth instead of flipping.
For touch-ups between washes, a quick pass of the flat iron on just the fringe takes 20 seconds and makes the whole cut look freshly styled. See more fringe ideas in our french bob with curtain bangs article.
8. The Product Amounts Cheat Sheet
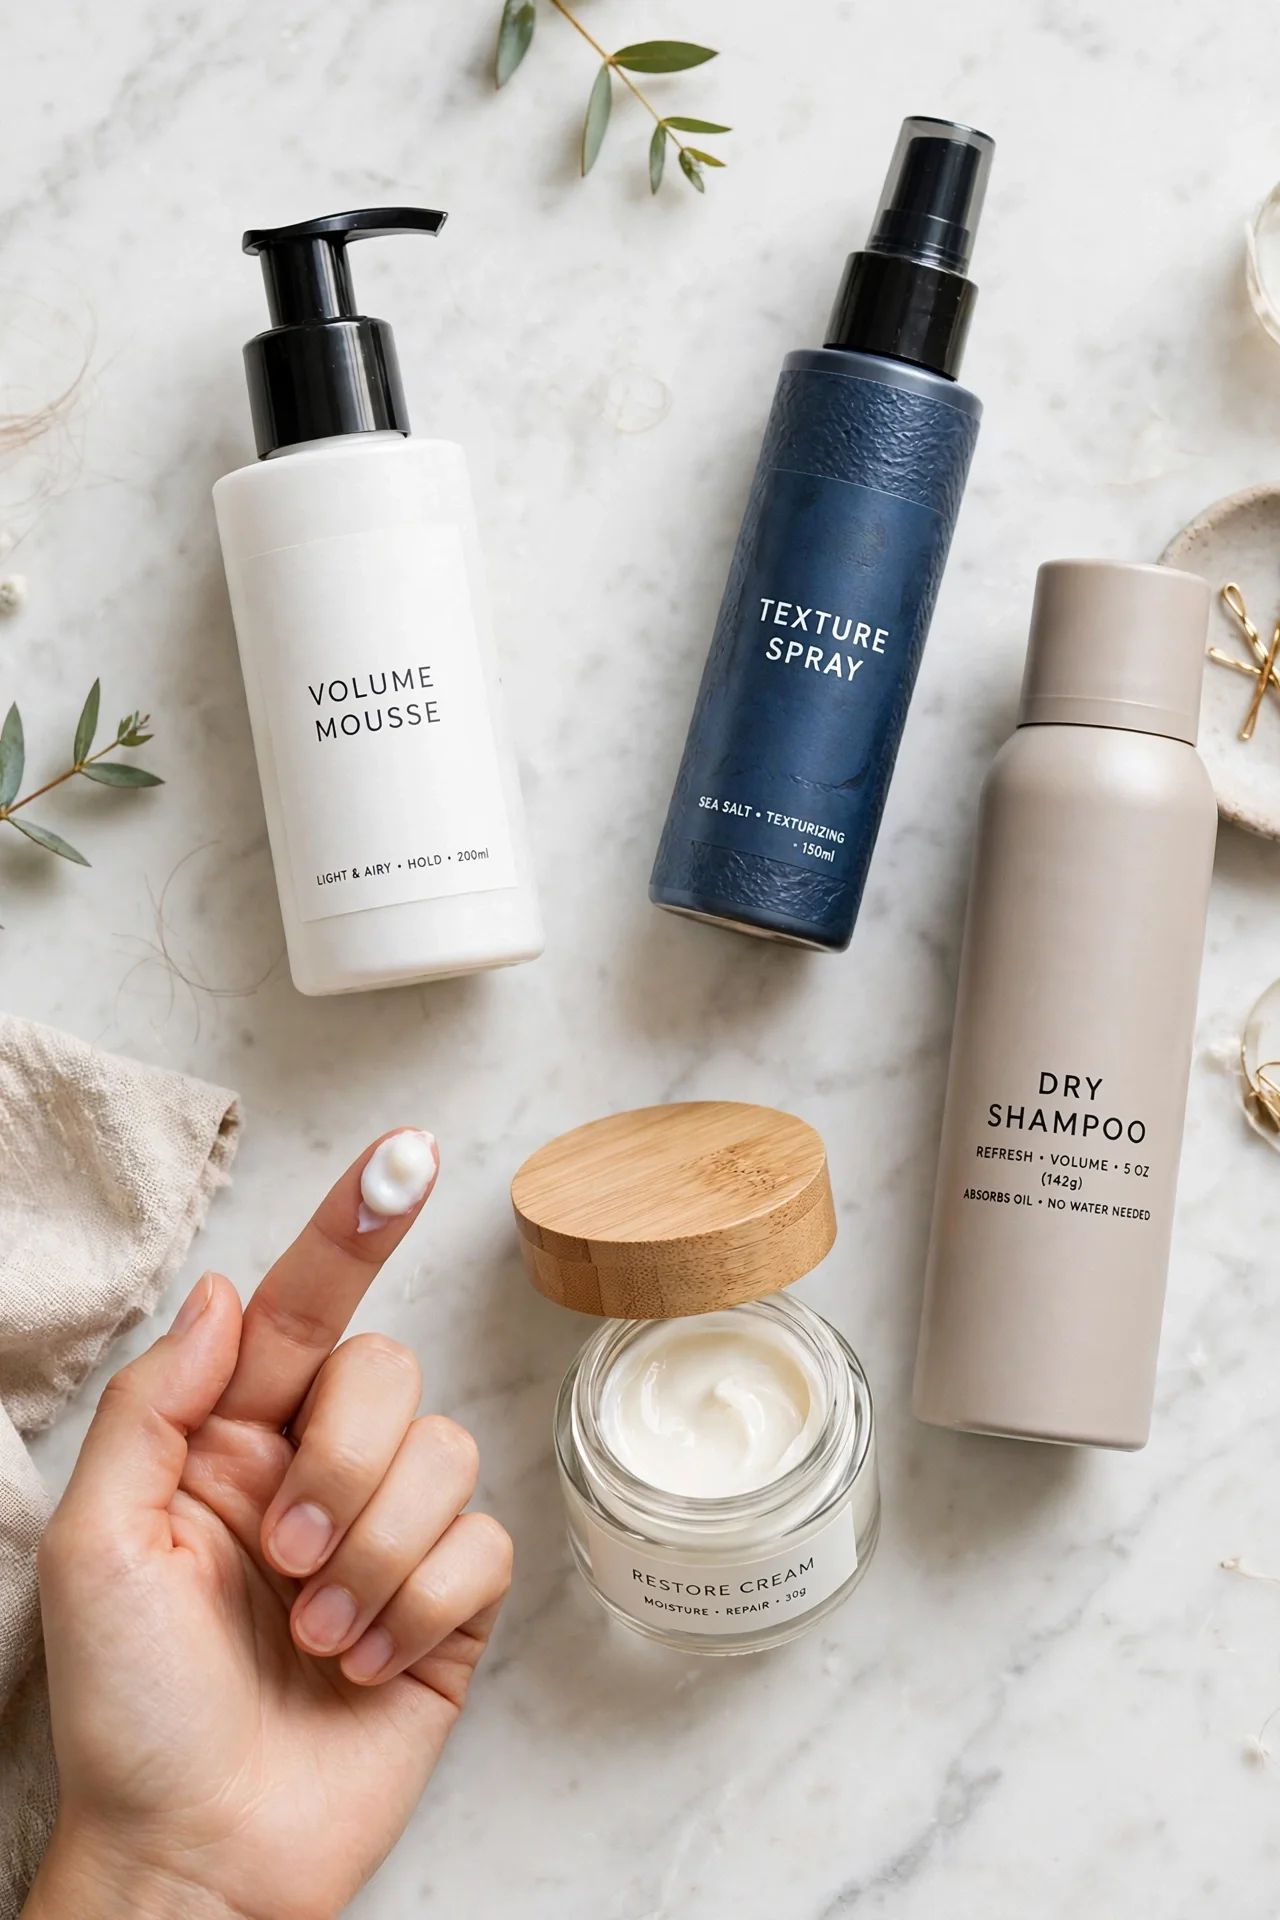
Using the right products matters less than using the right amount of them. When you are learning how to style a french bob, product discipline matters more than product choice. French bobs get weighed down fast, so think in small doses.
Mousse: a quarter-sized dollop, applied to the roots only. Styling cream: a pea-sized amount, worked through the mid-lengths and ends. Texture spray: two short sprays per side, aimed at the mid-lengths. Dry shampoo: a 10-second burst at the roots, then wait a full minute before massaging it in. Shine serum: a dime-sized drop, smoothed over the very ends only, never near the roots.
Layer lightly. If you are using three or four products, cut each amount in half. The French bob look collapses under product buildup, and you can always add more.
9. Fine Hair: Building Root Lift
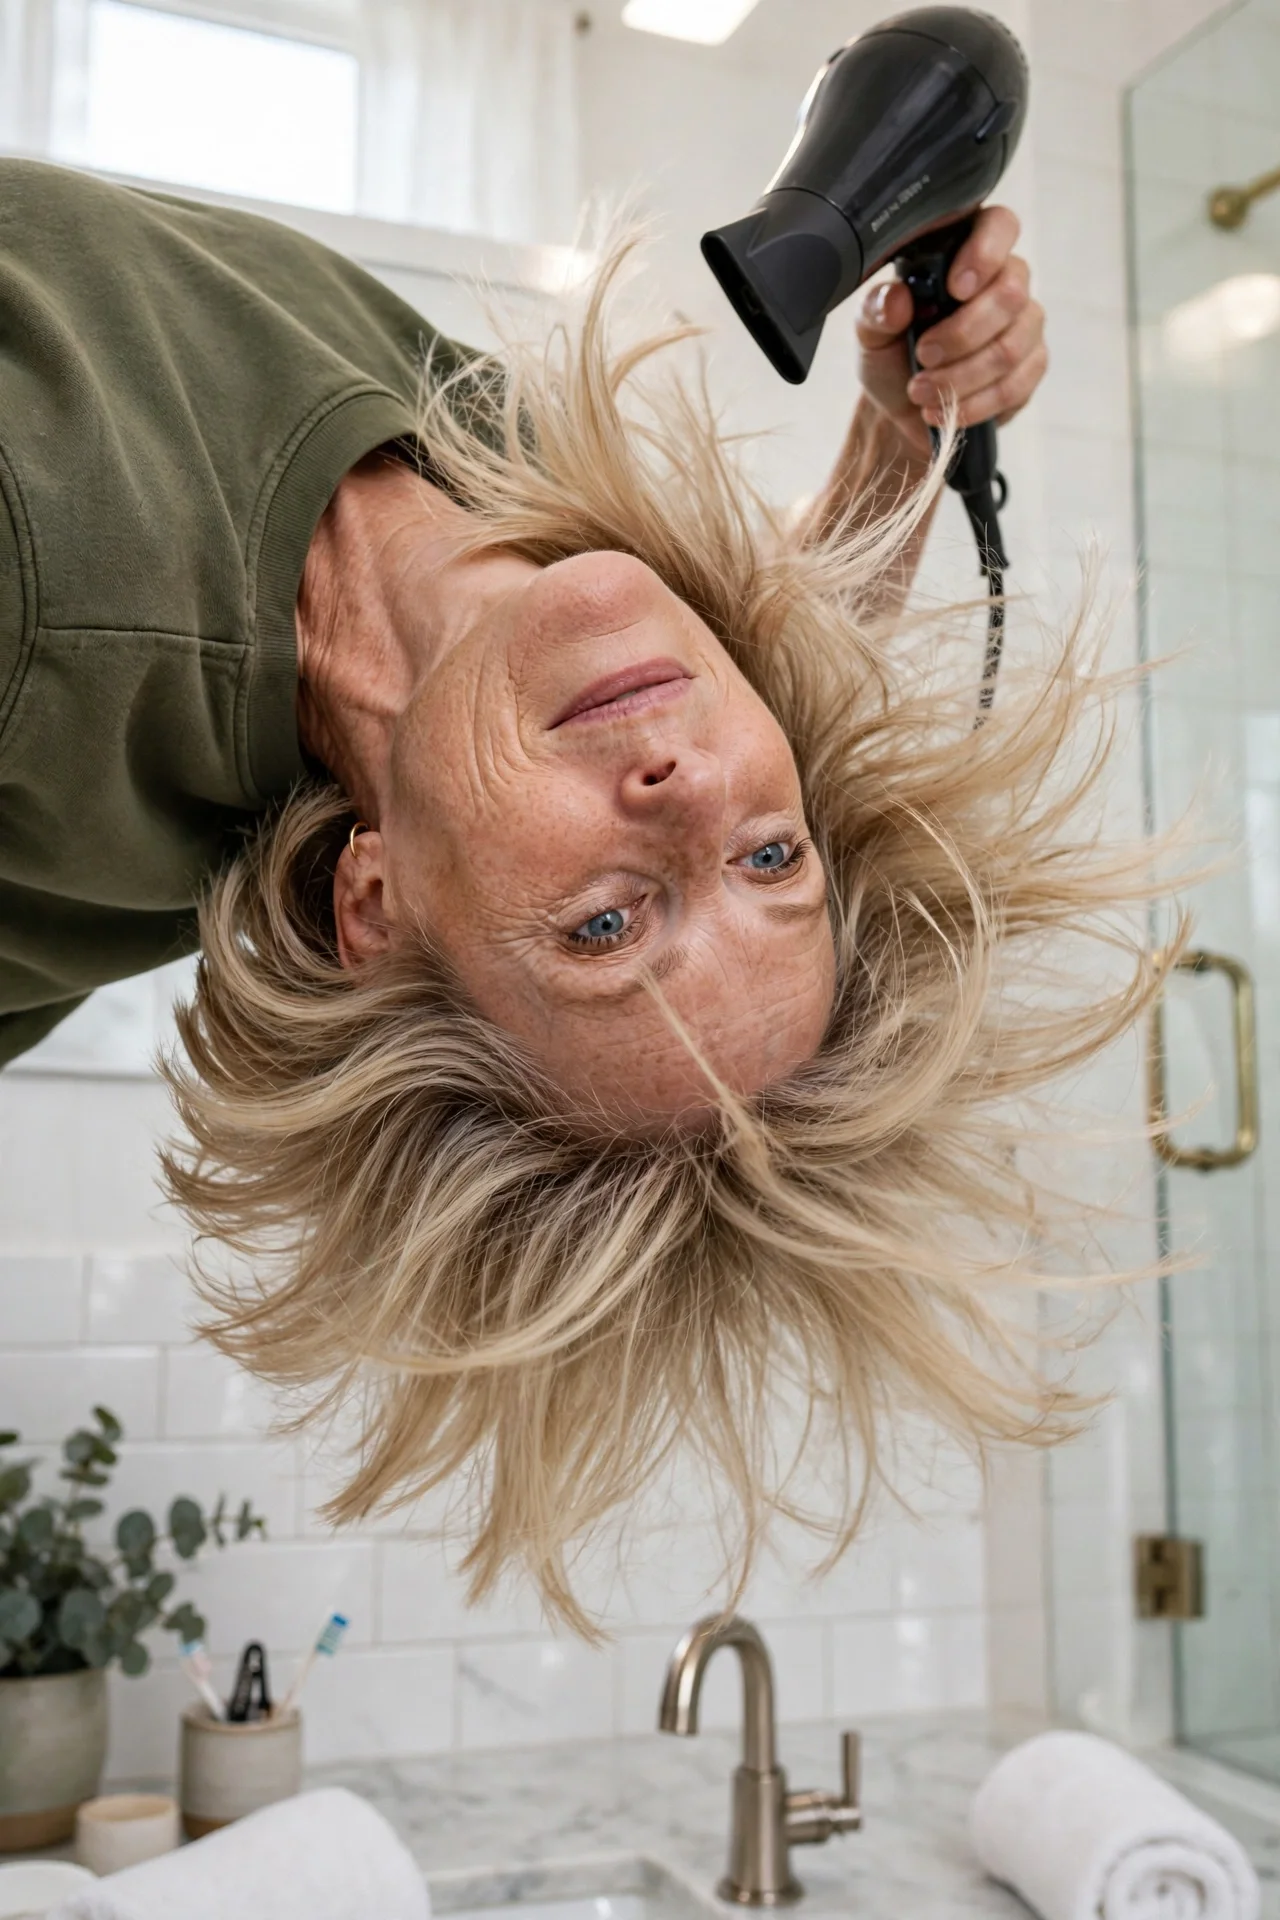
Fine hair needs volume most at the roots, where it tends to lie flat. Spray a root-lifting product directly onto the roots of damp hair, then flip your head upside down and blow dry. This simple flip creates lift that no amount of teasing can fake.
When you are upright again, use the round brush trick from section two but focus the brushwork on the crown area. A quick spritz of texture spray at the roots after drying adds grip so the volume lasts.
Avoid heavy creams, oils, and butters on fine hair. They will pull your bob down within an hour. Stick to mousses, light sprays, and dry shampoo, and always apply products to damp hair so they distribute evenly.
10. Thick Hair: Taming Volume in Sections
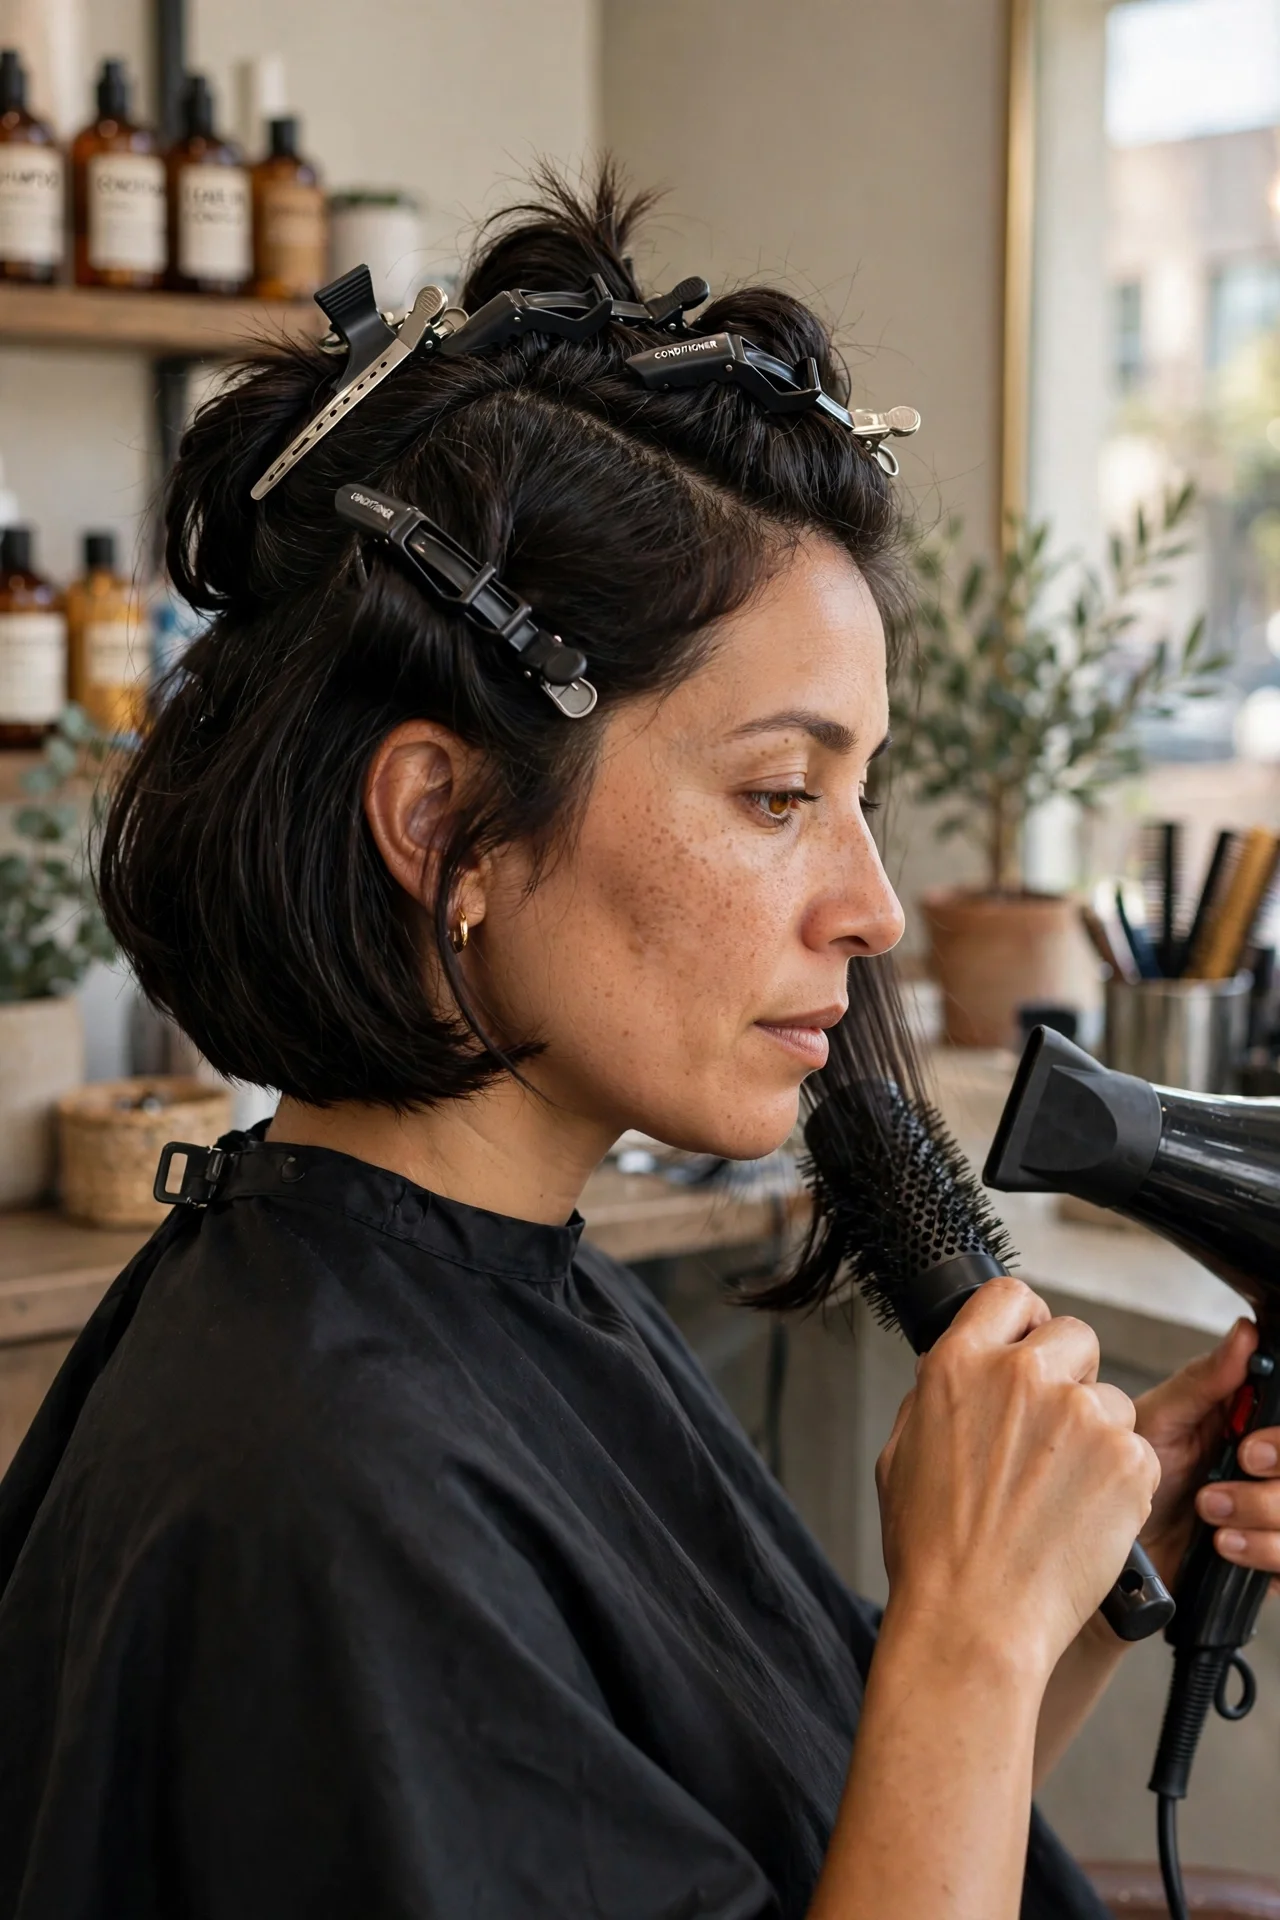
Thick hair gives you the opposite problem: too much volume at the sides, where it can turn the bob into a triangle. The fix is working in small sections instead of fighting all your hair at once.
Divide damp hair into four sections and apply a smoothing cream to each one before drying. Use a medium round brush and direct the ends inward and slightly under, which pulls the bulk downward instead of letting it poof outward.
If your bob still feels bulky, ask your stylist for internal thinning at your next appointment. A few minutes of point cutting on the inside layers removes weight without changing the length. It makes styling thick hair dramatically easier. Our french bob for thick hair guide has more volume-taming tips.
11. Straight Hair: Faking Movement

Pin-straight hair can make a French bob look a little severe, but a few tricks create the movement this cut needs. The overnight twist method from section four is the easiest option. Two loose twists before bed give you soft bends with zero heat.
For a faster fix, create loose S-waves with a flat iron. Clamp a section, bend it one way, slide down, bend it the other way, and release. Alternate the direction on each section so the waves look natural instead of uniform.
Second-day hair is your best friend here. Slightly lived-in straight hair holds texture better than freshly washed hair, so do not rush to wash it every morning.
12. Wavy Hair: Scrunch and Enhance

Wavy hair is the natural home of the French bob. Your job is not to create texture but to organize what you already have. On damp hair, apply curl cream from the mid-lengths down, then scrunch upward in sections to encourage the wave clumps.
If a few pieces dry straighter than the rest, twirl them around your finger while damp and let them set. Finger-coiling just the problem pieces is faster than restyling the whole head.
13. The Second-Day Refresh Routine
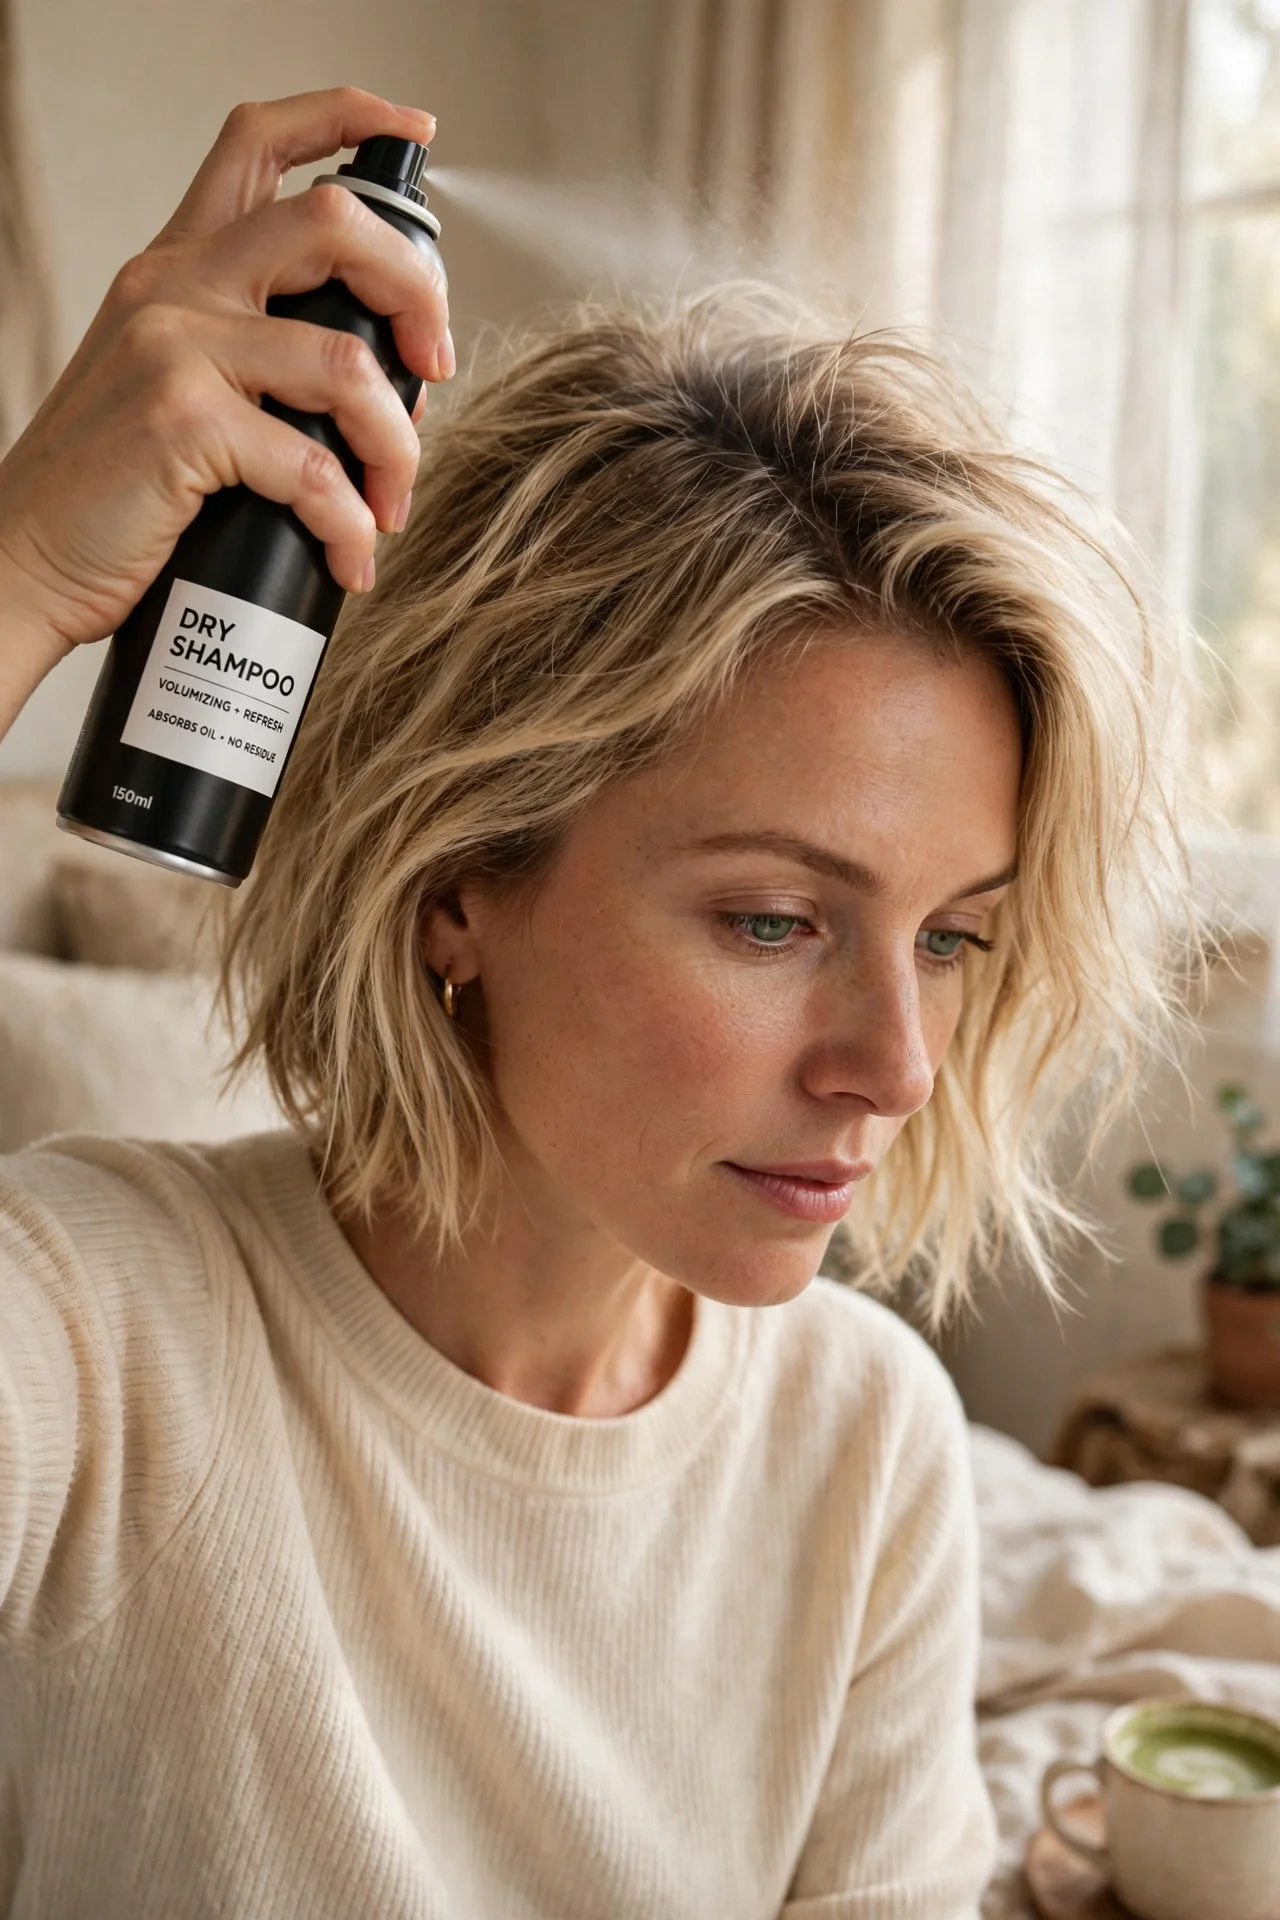
Here is a little secret: French bobs often look better on day two than day one. The natural oils add weight and texture that make the undone look intentional. So a refresh routine beats a full restyle.
Start with dry shampoo at the roots, sprayed from about six inches away. Wait a full minute, then massage it in with your fingertips. This absorbs overnight oil and brings back volume at the crown.
14. Humidity-Proofing Your French Bob
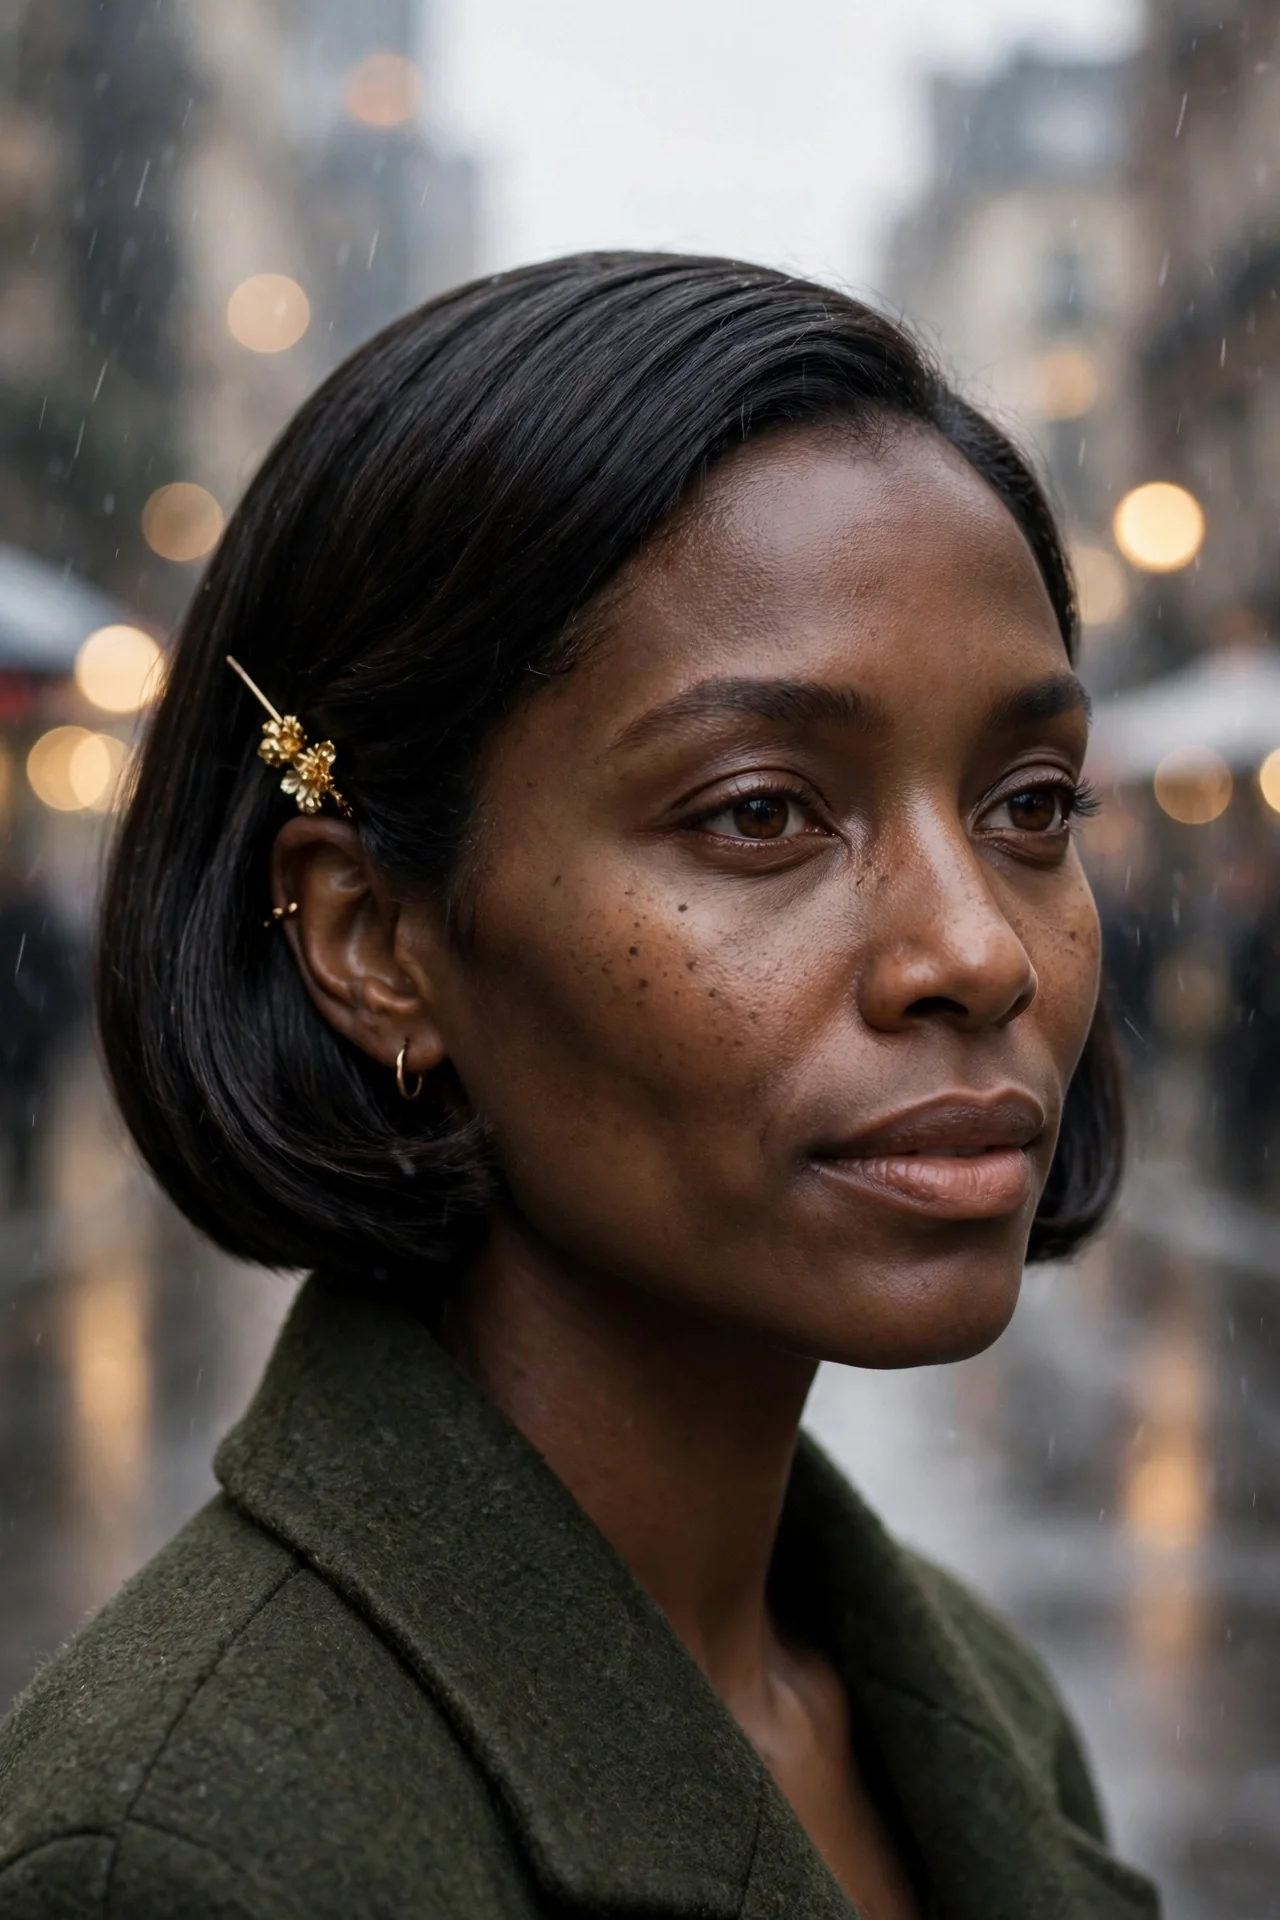
Humidity is the sworn enemy of the French bob, turning soft texture into frizz within an hour. The defense starts on damp hair: apply an anti-humidity spray or smoothing serum before you dry, because products work best as a preventive shield, not a rescue mission.
After styling, seal the ends with a tiny amount of shine serum. The ends are the oldest, most porous part of your hair, so they absorb moisture from the air first. Sealed ends stay smooth while unsealed ends start to frizz.
15. Sleep Smart to Protect the Style

A satin or silk pillowcase is the single best investment for French bob owners because it reduces the friction that causes frizz and flattens texture overnight. For extra protection, gather your hair into a very loose low bun at the nape before bed.
Keep it loose. A tight ponytail leaves a dent line and pulls the front pieces into odd angles that take real work to fix in the morning.
In the morning, undo the bun, flip your head forward, and shake the roots with your fingers. Most mornings this five-second move plus a spritz of texture spray is all you need.
16. The One-Side Tuck and Pin
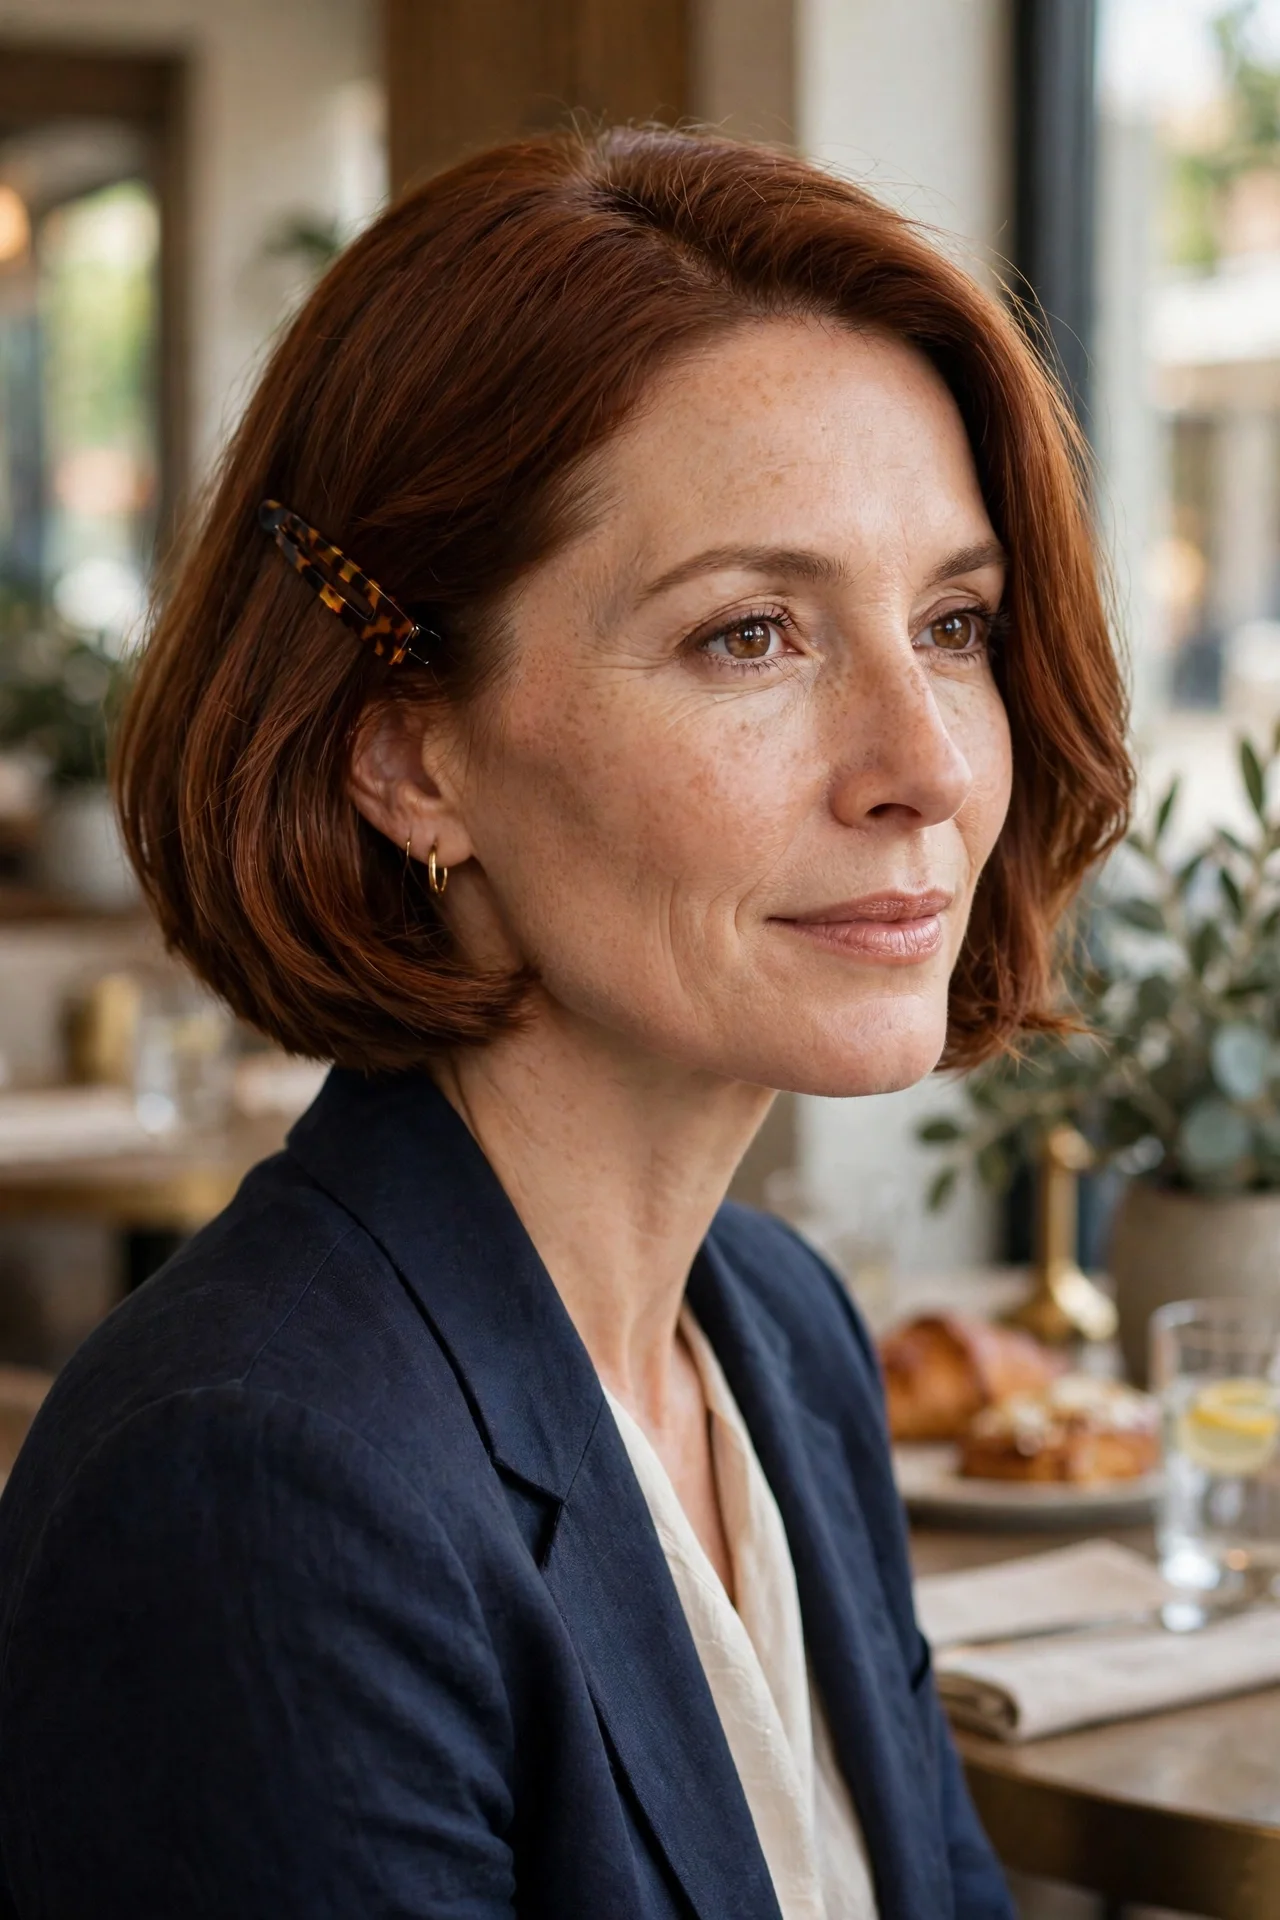
This is the fastest style upgrade in the French bob playbook. Tuck one side of your hair behind your ear and let the other side fall forward along your jawline. The asymmetry instantly makes the cut look styled and intentional.
Add a decorative pin, a small barrette, or a slim clip just above the tucked ear. This keeps the tuck in place all day and adds a little detail that elevates the whole look. Gold and tortoiseshell pins work beautifully with this cut.
Try a deep side part with this technique for evenings out. The deep part adds drama, the tuck shows off an earring, and the forward-falling side frames your face. It takes 30 seconds.
17. The Day-to-Evening Switch

Taking your French bob from daytime casual to evening polished does not require starting over. Run a flat iron over the full head in smooth, slow passes, focusing on getting the ends to tuck under evenly.
Add a drop of shine serum through the mid-lengths and ends. This is one of the few times a bit of shine is welcome, because evening lighting rewards gloss. Smooth down any flyaways with the flat of your hand.
Finish with a flexible-hold hairspray, held about 10 inches from your head. One light mist is enough. You want movement that lasts, not a helmet.
18. Six Mistakes That Ruin a French Bob

First, over-straightening. Running a flat iron over the whole bob until it is pin-straight kills the texture that defines the cut. You end up with a generic short bob, not a French one.
Second, heavy products. Thick oils, butters, and heavy creams drag the ends down and make the bob look limp by midday. Third, curling the ends outward. The French bob silhouette curves inward at the jawline. Outward flips turn it into a completely different haircut.
Fourth, brushing dry wavy hair, which turns waves into frizz. Fifth, styling the bangs together with the rest of the hair instead of giving them their own pass. And sixth, skipping trims.
19. The 6-Week Trim Schedule
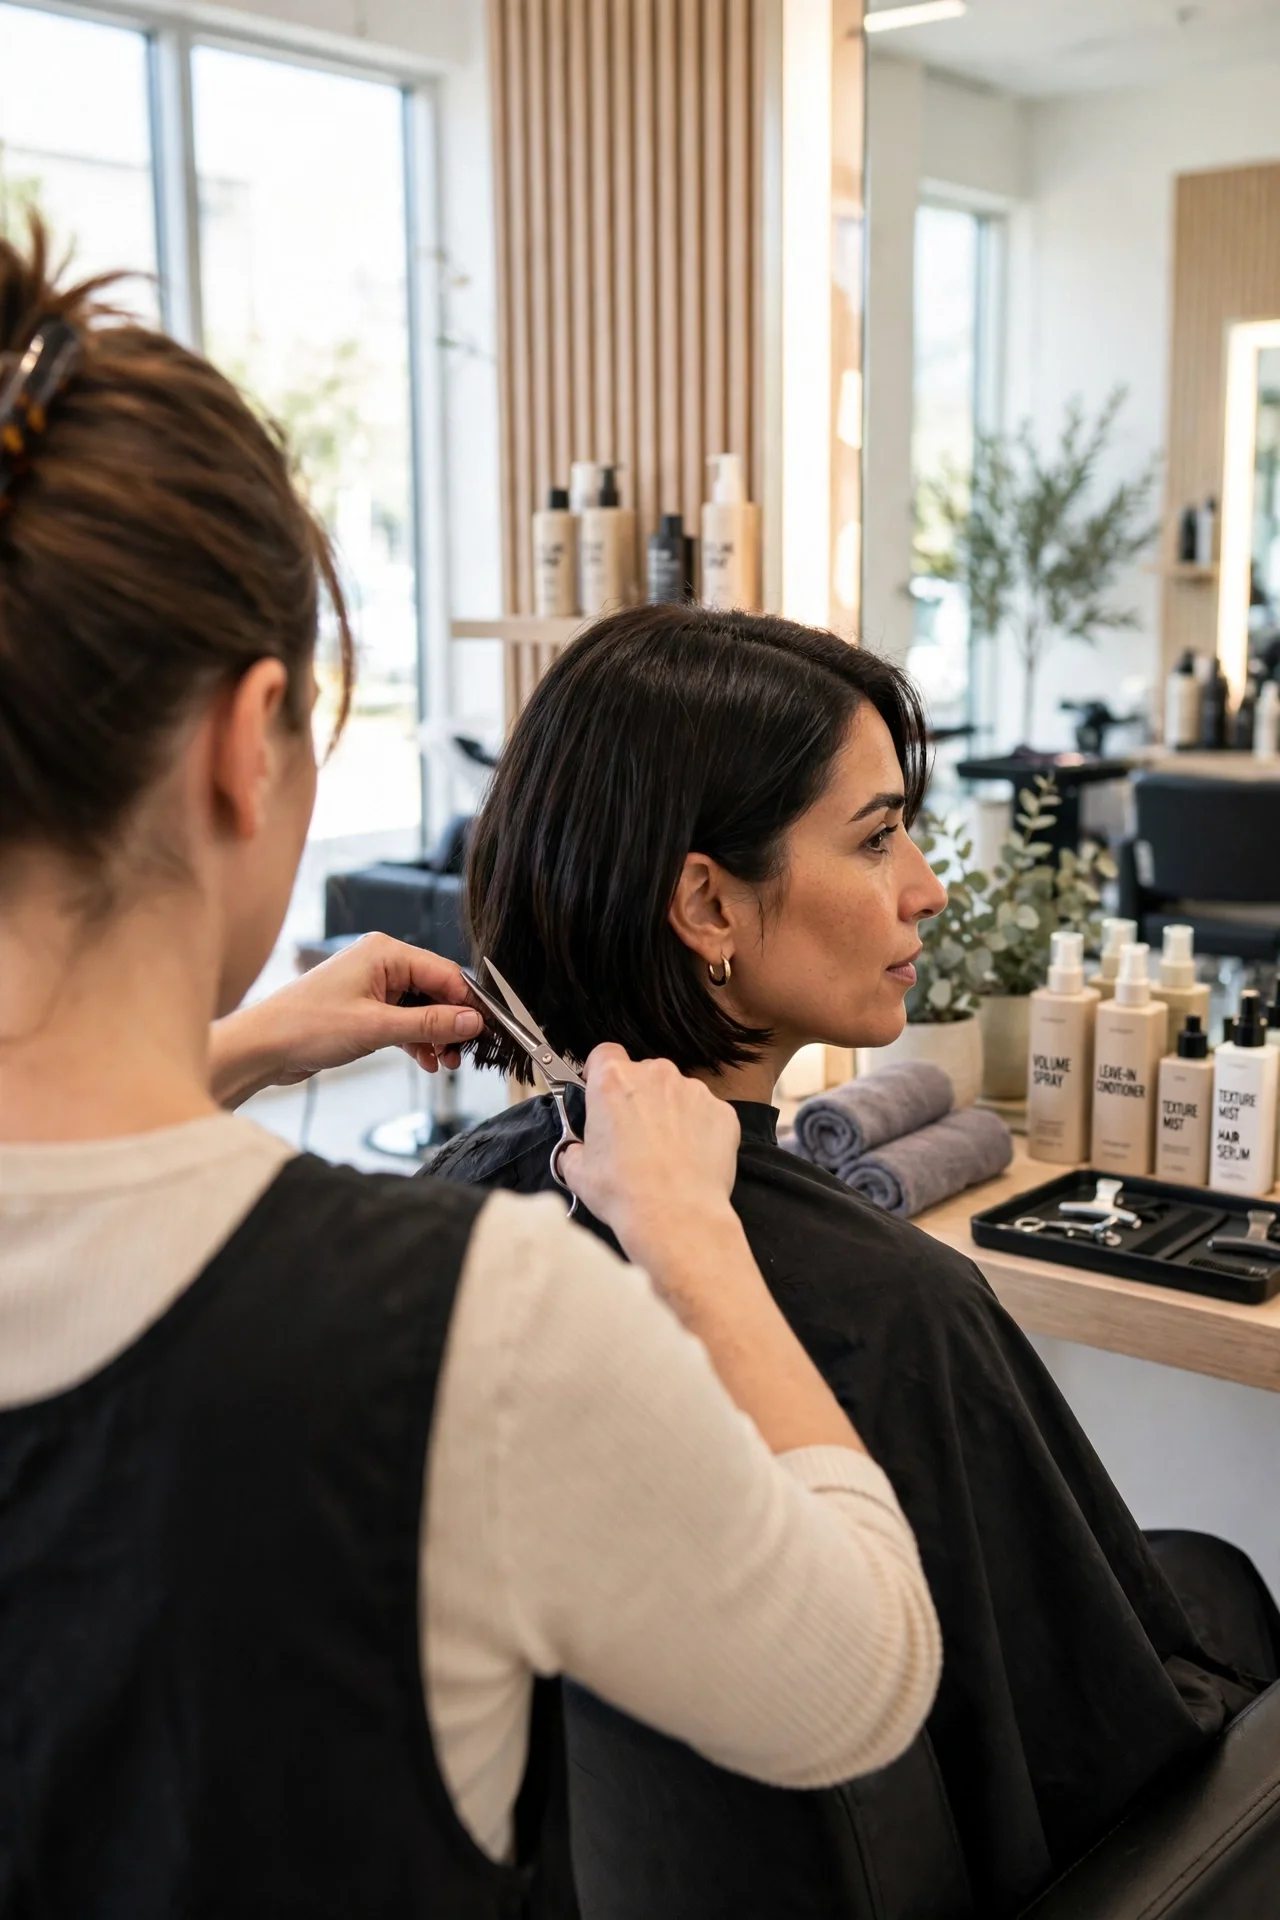
Styling can only do so much if the cut itself has grown out. Learning how to style a french bob is only half the job. Maintaining the cut is the other half. Plan for a trim every six to eight weeks to keep the line crisp.
The fringe needs attention between appointments. Most salons offer free or cheap fringe trims, and a five-minute cleanup at week three or four keeps the whole cut looking fresh. If your stylist does not offer this, ask. Many do it as a courtesy.
Between trims, watch for the signs that styling is getting harder: ends that flip outward on their own and fringe that will not sit right. Those are your signals to book the appointment rather than fighting it with more product.
20. Accessorize the French Way

Accessories are practically part of the French bob uniform. A beret worn tilted to one side is the classic choice, and it sits perfectly on the rounded shape of this cut. Position it slightly back on the head so your fringe stays visible.
Silk scarves work beautifully too. Fold one into a band and tie it as a headband, or wrap it around a low bun for an instant upgrade.
Keep clips and pins minimal and deliberate. One statement barrette beats five small ones. Place it just above the ear on the tucked side, or at the temple to sweep back a growing fringe. Once you have mastered how to style a french bob with these routines, the cut practically takes care of itself. Still deciding which bob suits you best? Our Ultimate Guide to Bob Hair Trends compares 16 major bob styles side by side to help you choose. You can also compare the italian bob and the bixie haircut to find your perfect match.
Frequently Asked Questions
How long does it take to style a French bob each morning?
Most days, three to five minutes. The wash-and-go routine from this guide is genuinely a five-minute job once you know it. A round-brush blowout adds a few more minutes, and the diffuser routine for curly hair takes about 15 minutes. The cut is short, which means there is simply less hair to manage than a longer style.
Can I style a French bob without any heat tools?
Absolutely, and many people do it exclusively. Air-drying with mousse, the overnight twist method, and scrunching with curl cream all produce great results with zero heat. The only exception is the fringe, which usually behaves better with a quick blow-dry or a 20-second flat iron pass.
What are the must-have products for a French bob?
You need three: a lightweight mousse or styling cream for hold, a texture spray for that lived-in finish, and a dry shampoo for second-day refreshes. An anti-humidity spray is worth adding if you live somewhere humid. Skip heavy oils and butters, which weigh this cut down fast.
How do I stop my French bob fringe from looking flat?
Style the fringe first, while it is still damp, using a small round brush to sweep it down and slightly to the side. A quick pass with a flat iron on low heat works as a touch-up. If it still falls flat, a tiny bit of texture spray at the fringe roots adds grip. Flat fringe is also a sign it is time for a trim.
How often should I wash my French bob?
Every two to three days works for most people. Washing daily strips the natural oils that give the French bob its texture, and freshly washed hair is often too soft and slippery to hold the undone look. Use dry shampoo on the in-between days to keep the roots fresh.
Will a French bob work with curly or very fine hair?
Yes to both, with the right approach. Curly hair needs a diffuser routine and curl-defining products to keep the shape defined rather than frizzy. Fine hair needs root-lifting products and an upside-down blow dry for volume. The key is styling to your texture, not fighting it, which is exactly what this cut is designed for.

Sana Malik is a hair and beauty writer with a deep love for the bob in all its forms from sharp French bobs to soft, lived-in lobs. After years of experimenting with her own short hair and helping friends figure out what actually suits their face shape, she started writing to cut through the confusing advice out there. At BobHairTrends, she breaks down each cut into simple, honest guides: how to ask for it, how to style it at home, and who it really flatters. When she isn’t researching the latest trends, she’s usually testing a new styling product or convincing someone it’s finally time for the chop.